
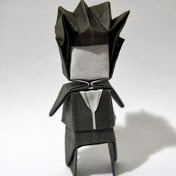
| Origami is a traditional Japanese art of paper folding. It uses many techniques and various objects can be created. The object is made of origami paper, which is specially made for folding and staying in shape. The beginnings of origami are not clear. Paperfolding started in China in the 1st or 2nd century. It finally came to Japan in the 6th century. Instead of making models that looked exactly like things, the first origami models only looked similar to things. People often folded models and gave them to other people for good luck. |  |
Check out these origami YouTube Channels for beginners!

Now lets review TEXTURE really quick!
Remember, TEXTURE in art is how something "FEELS" or "LOOKS" like it feels. There are two main types of texture in artwork, ACTUAL TEXTURE and IMPLIED TEXTURE. WE will be creating TEXTURE in the iris of our eyeball as well as our scales. Can you tell which type of texture we will be creating today?
| ACTUAL or REAL TEXTURE: means and artist uses materials that actually feel like something when you touch it. Today we will be creating ACTUAL TEXTURE in our collages. | IMPLIED TEXTURE means and artist uses special techniques when drawing or painting to make their artwork LOOK like it feels a certain way, but actually is just flat. |
Let's Get Started...
| You will need....
| |
OPTIONAL: print out template you will need this template to print on both sides of the paper
 | 
| ||
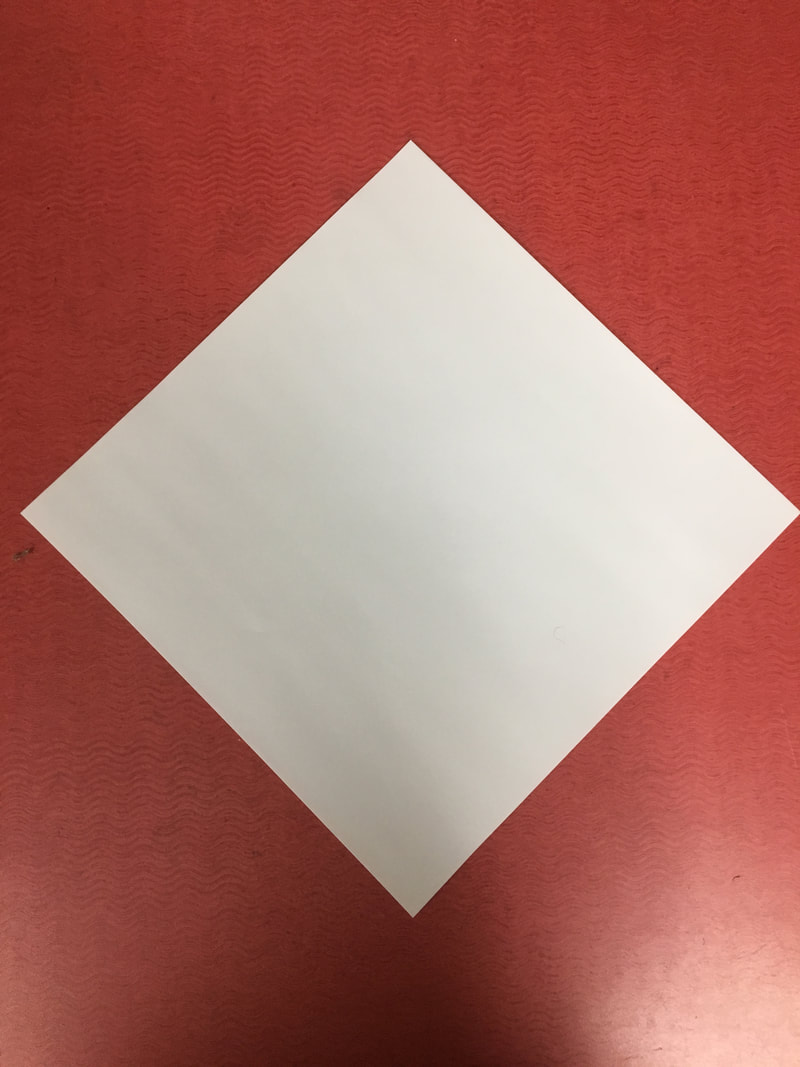
STEP 1: Fold Your Paper
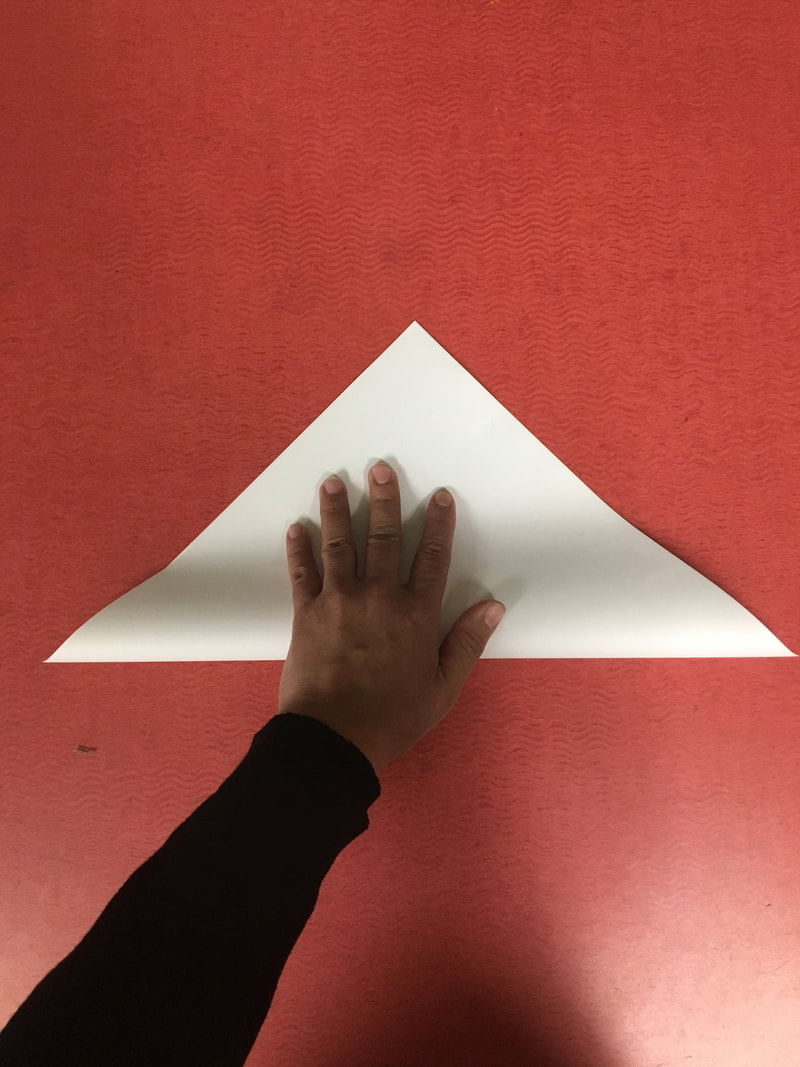
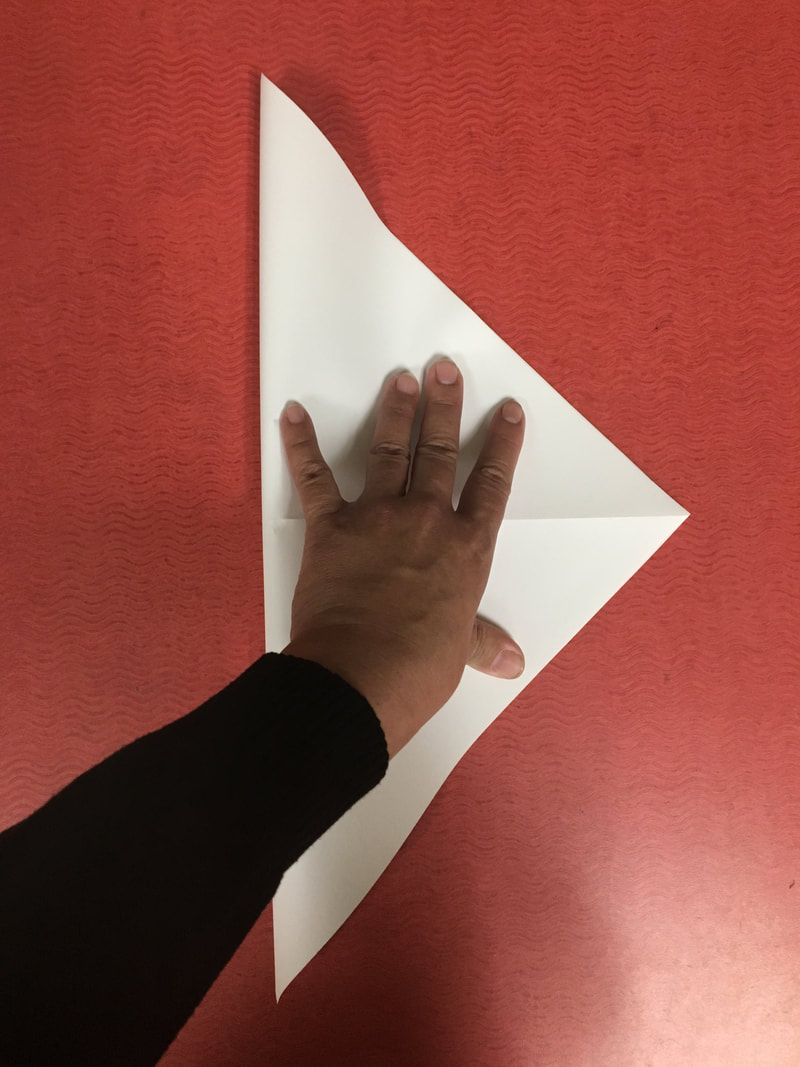
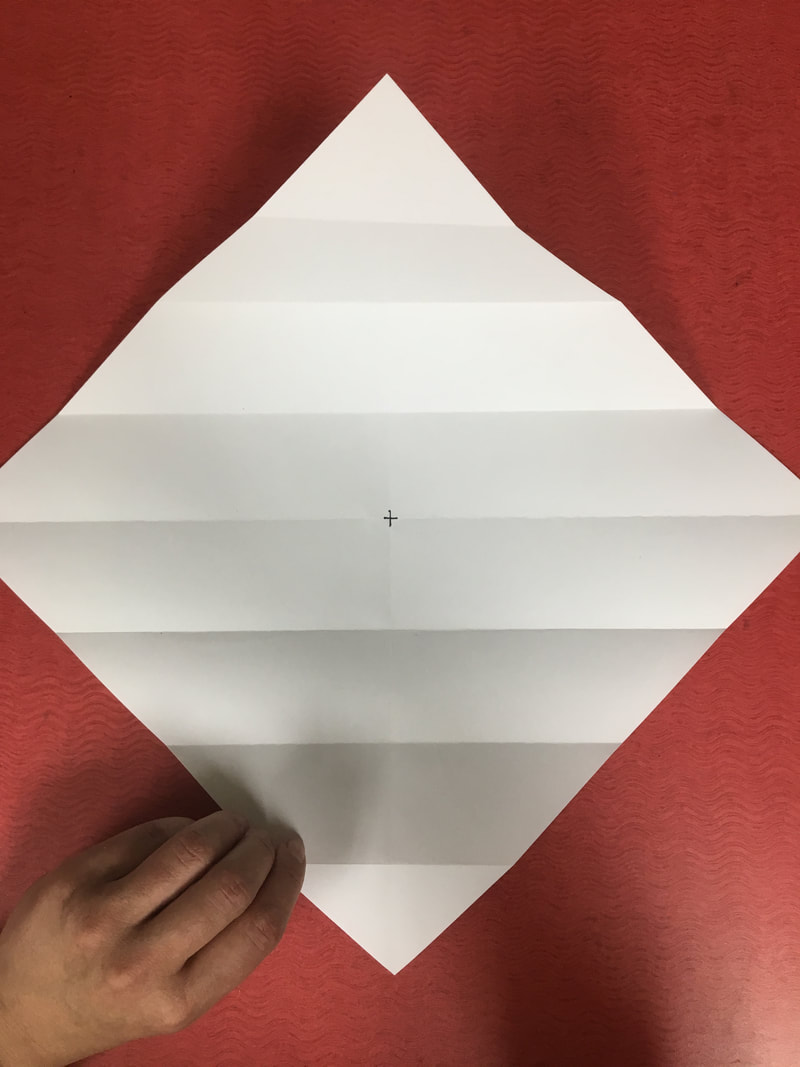
First you will need to create an "X" with diagonal folds intersecting your paper. You will do this by folding your paper in half from corner to corner. To make sure you do this correctly, each time you fold, your paper should turn into a triangle shape.
First you will need to create an "X" with diagonal folds intersecting your paper. You will do this by folding your paper in half from corner to corner. To make sure you do this correctly, each time you fold, your paper should turn into a triangle shape.
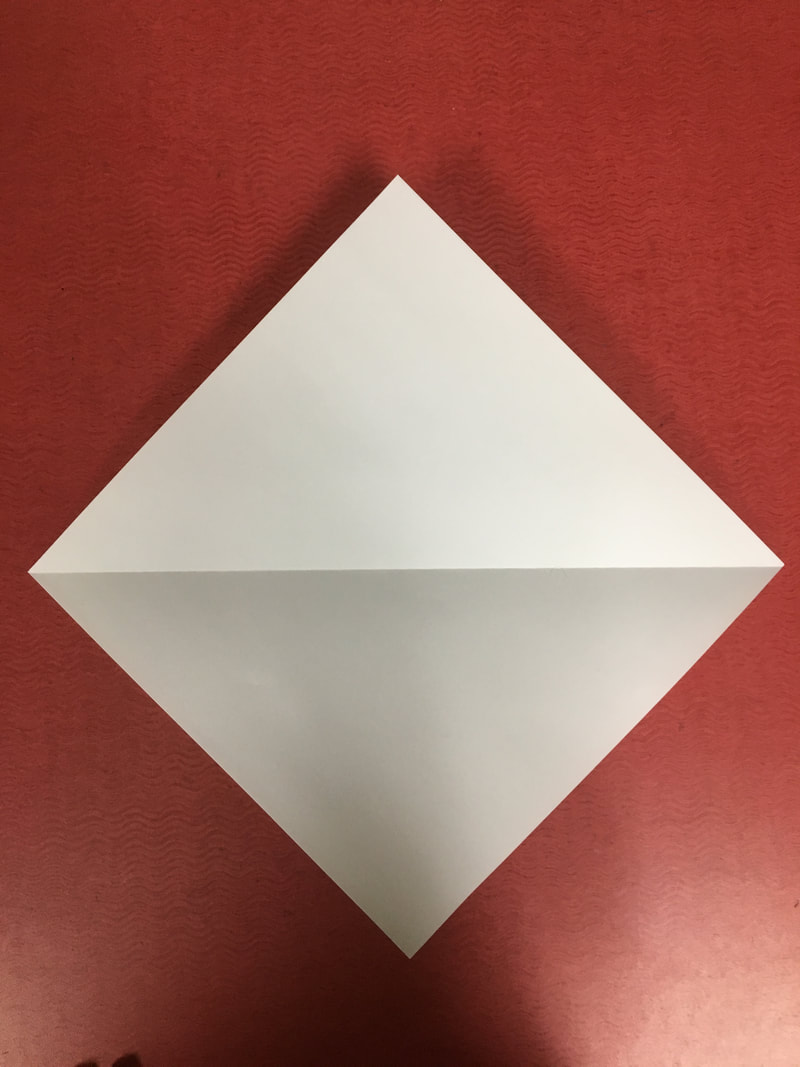
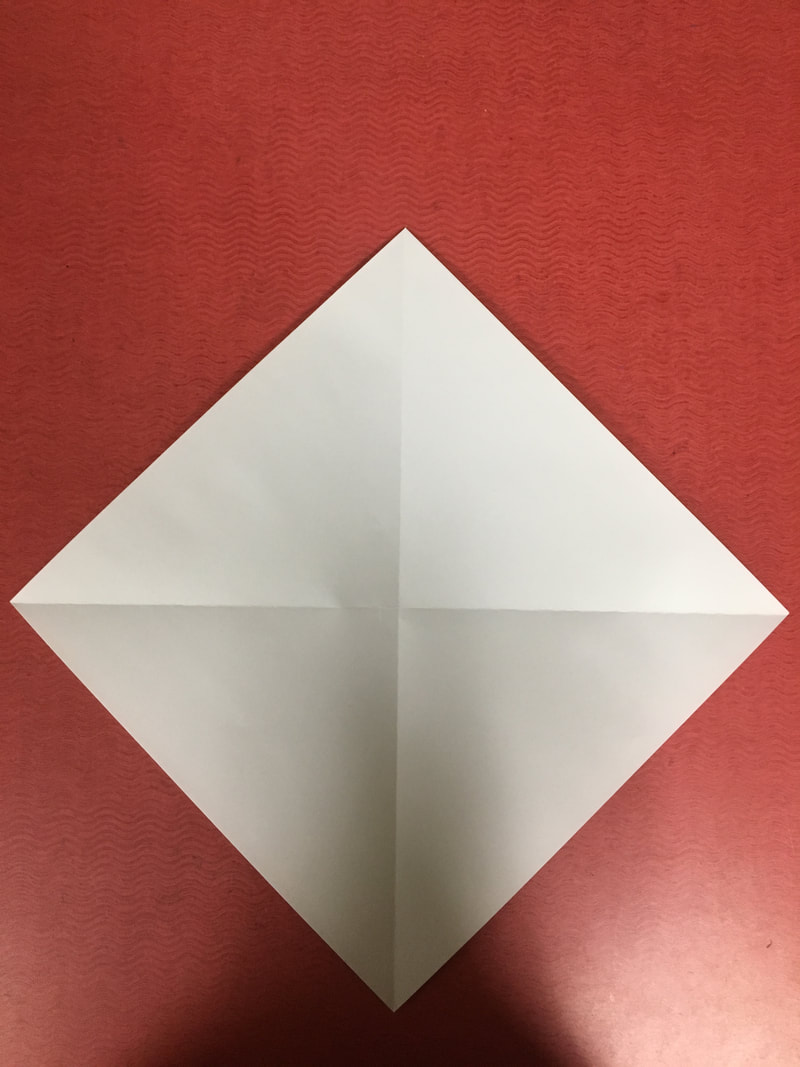
| Put a small "X" to mark the center of your paper on both sides. |  |
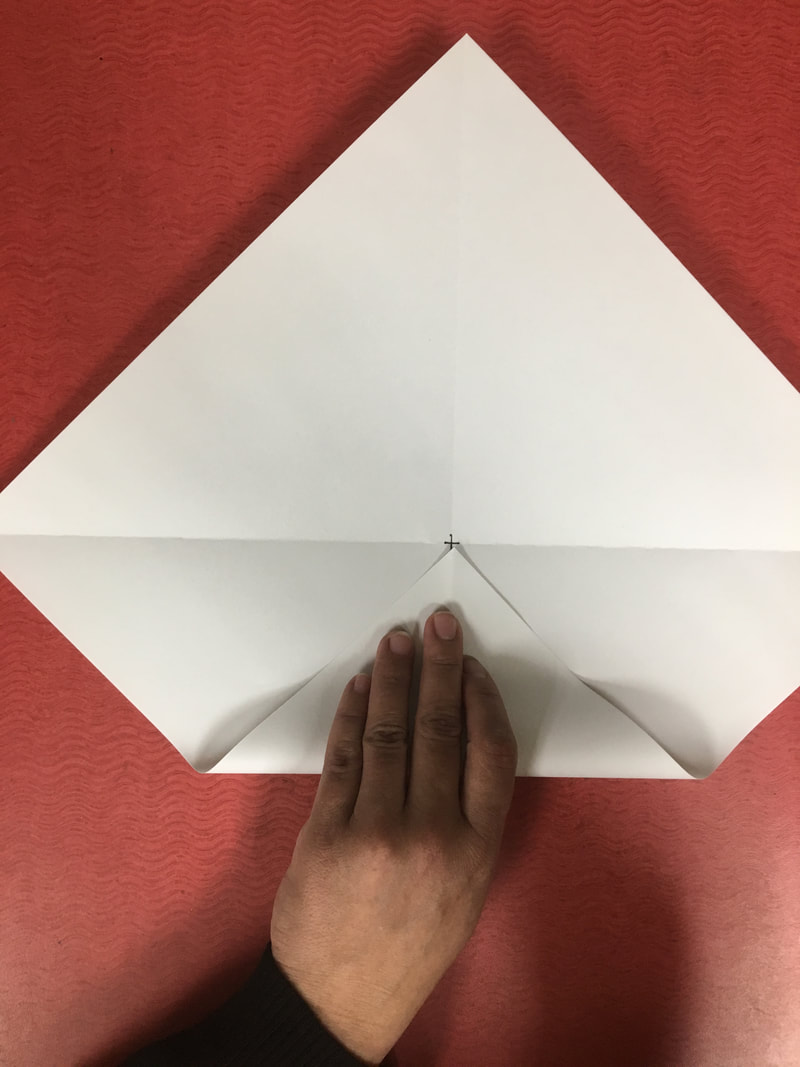
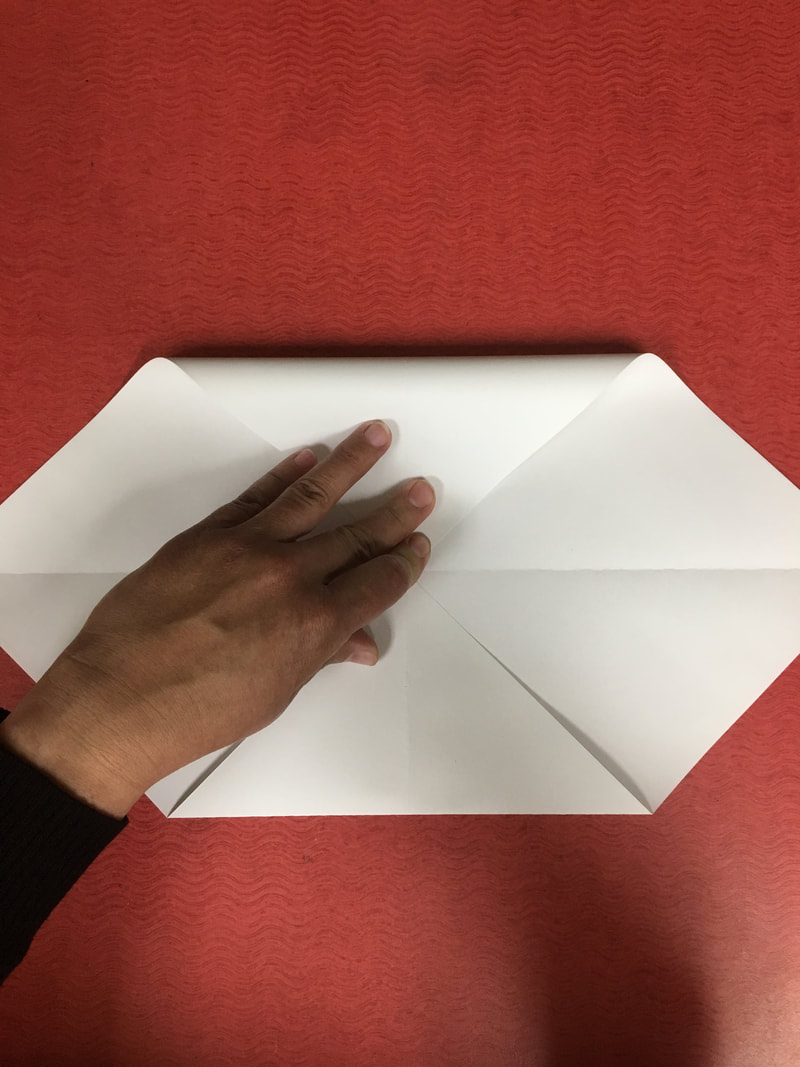
With one of the corners of your paper pointing towards your belly button, fold that corner up so that it touches the center "X"....crease it well. Repeat the same for the top corner. Now you should have two flat edges on the top and bottom of your paper.
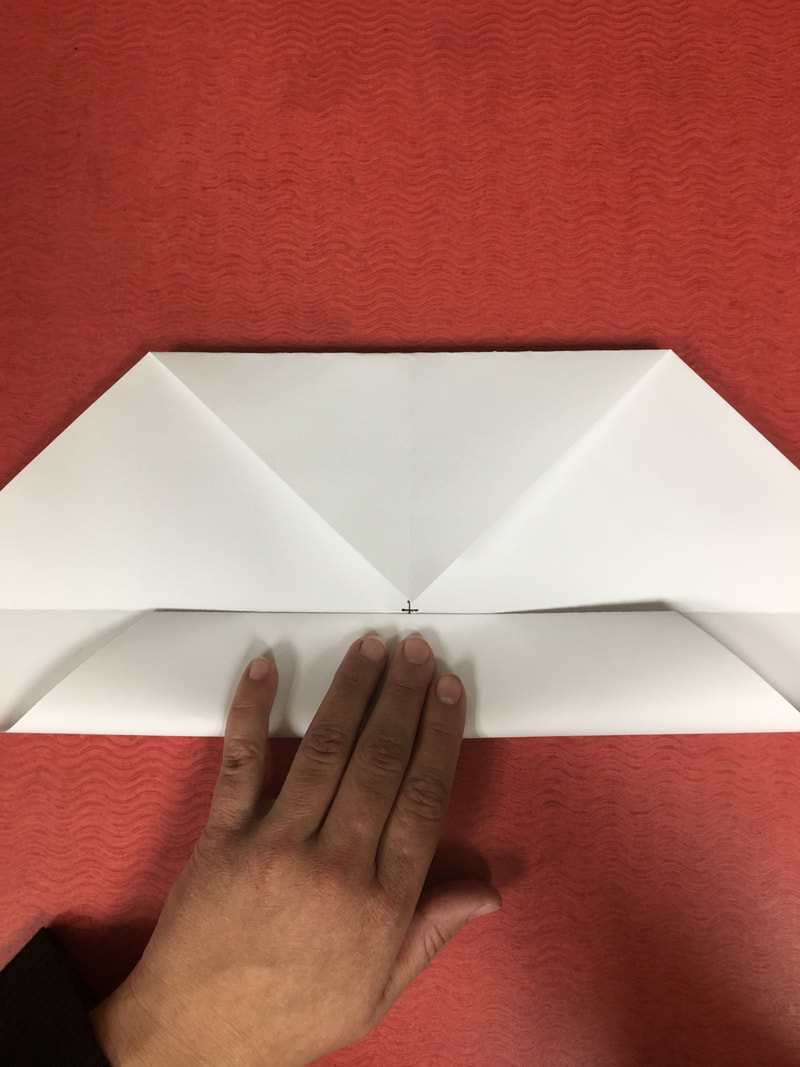
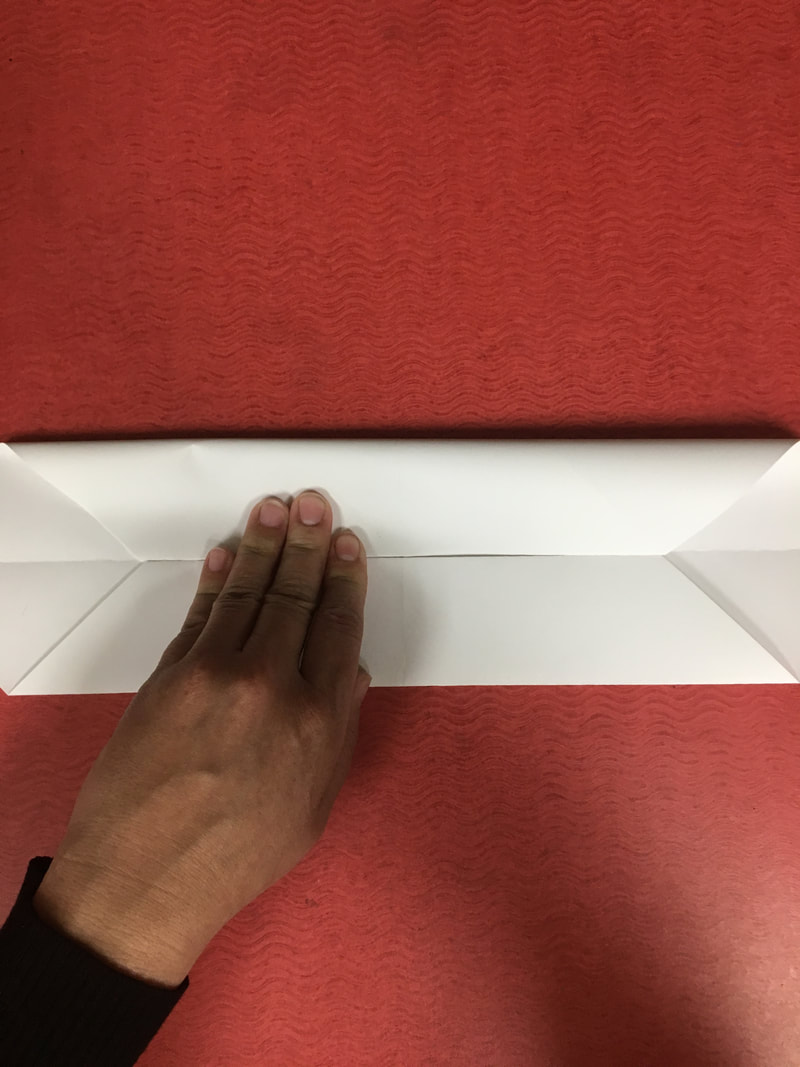
Fold the bottom edge up, until it lines up with the center fold. Repeat this for the top edge and open up your paper. You should have 7 creases or folds creating 8 equal slices of paper.
Fold the bottom edge up, until it lines up with the center fold. Repeat this for the top edge and open up your paper. You should have 7 creases or folds creating 8 equal slices of paper.
STEP 2: Draw Your Eye
In this step, if you are using the printed template, you will create your eye inside the space provided. The project that is pictured in this tutorial was created WITHOUT the template.
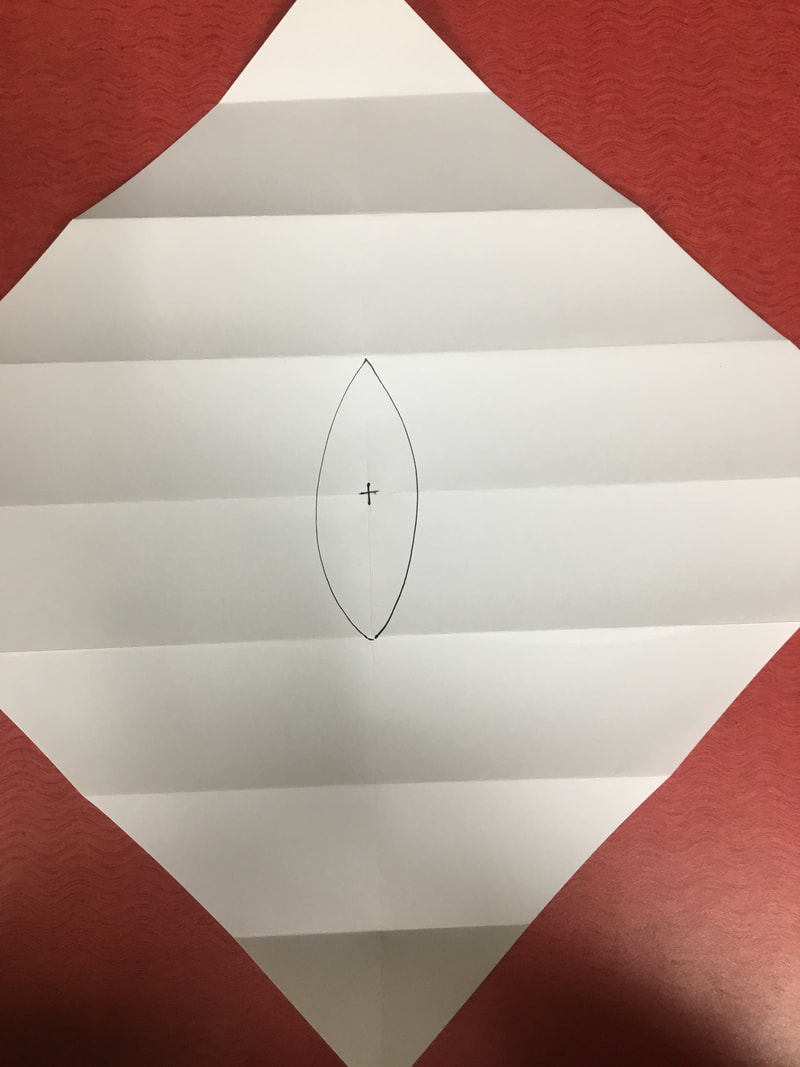
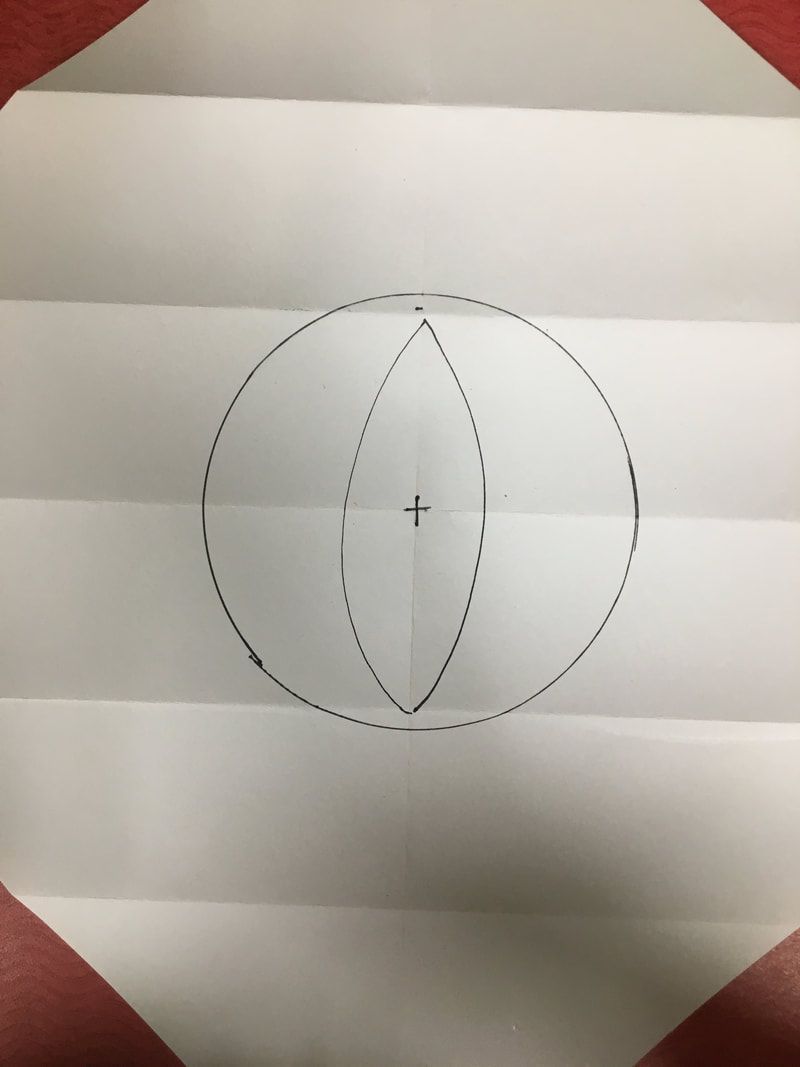
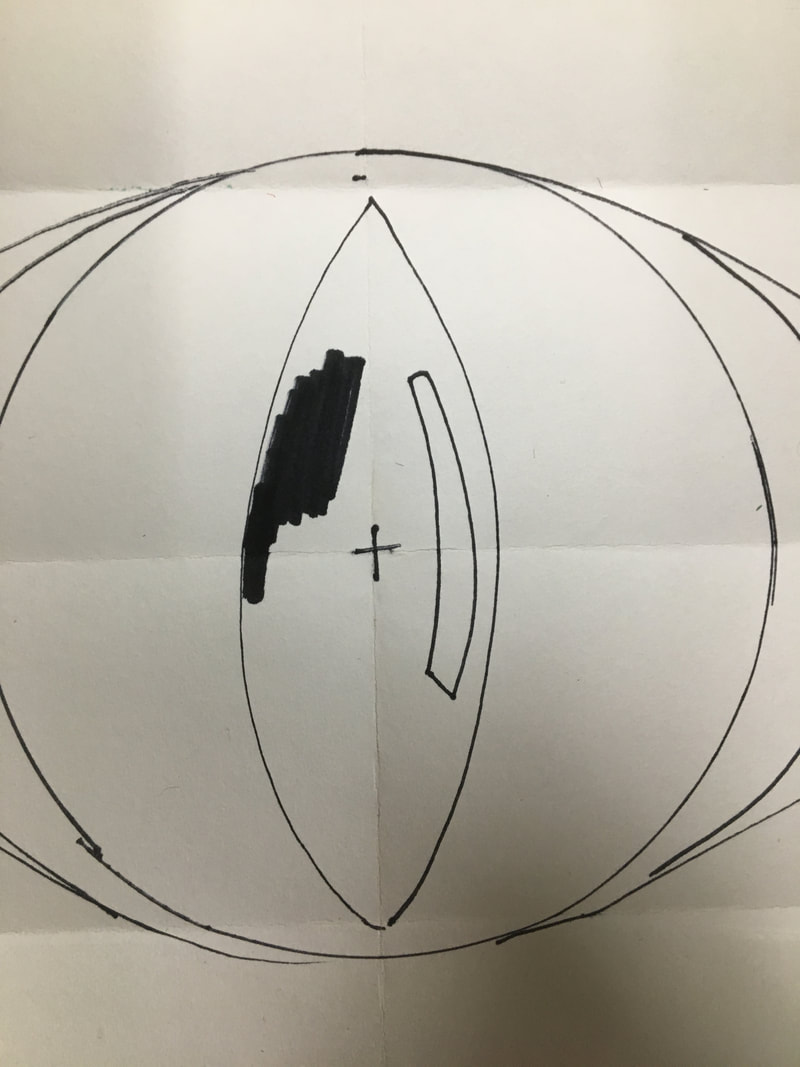
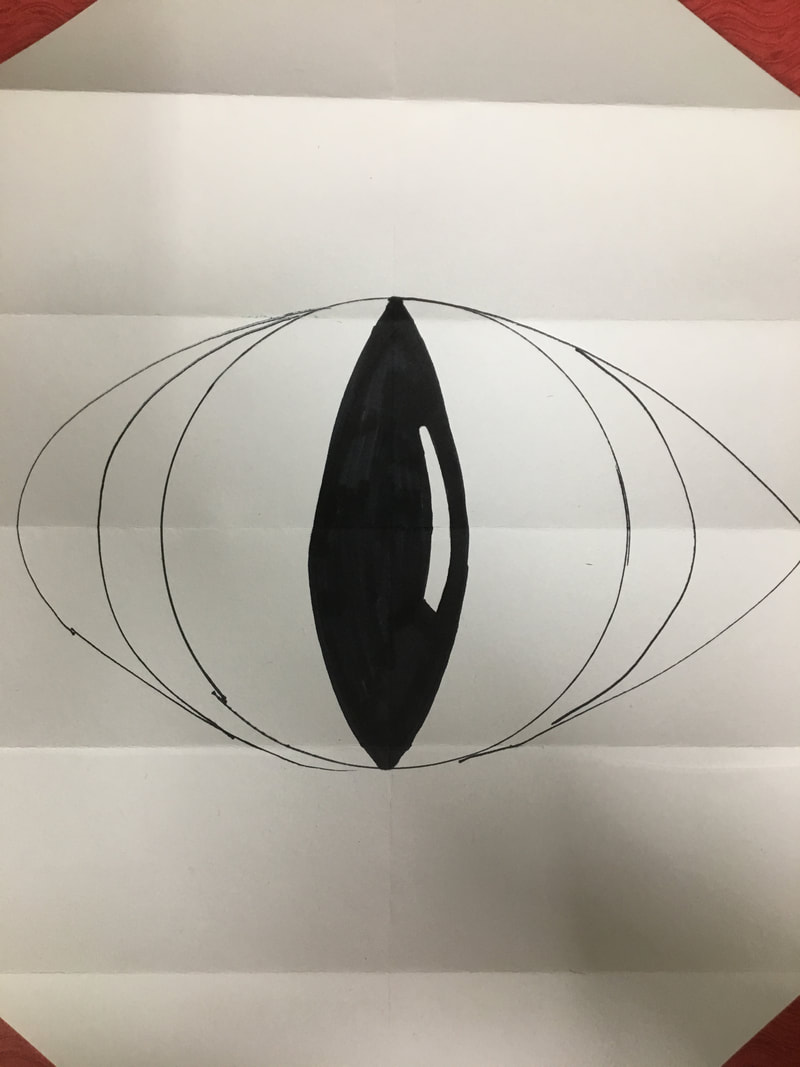
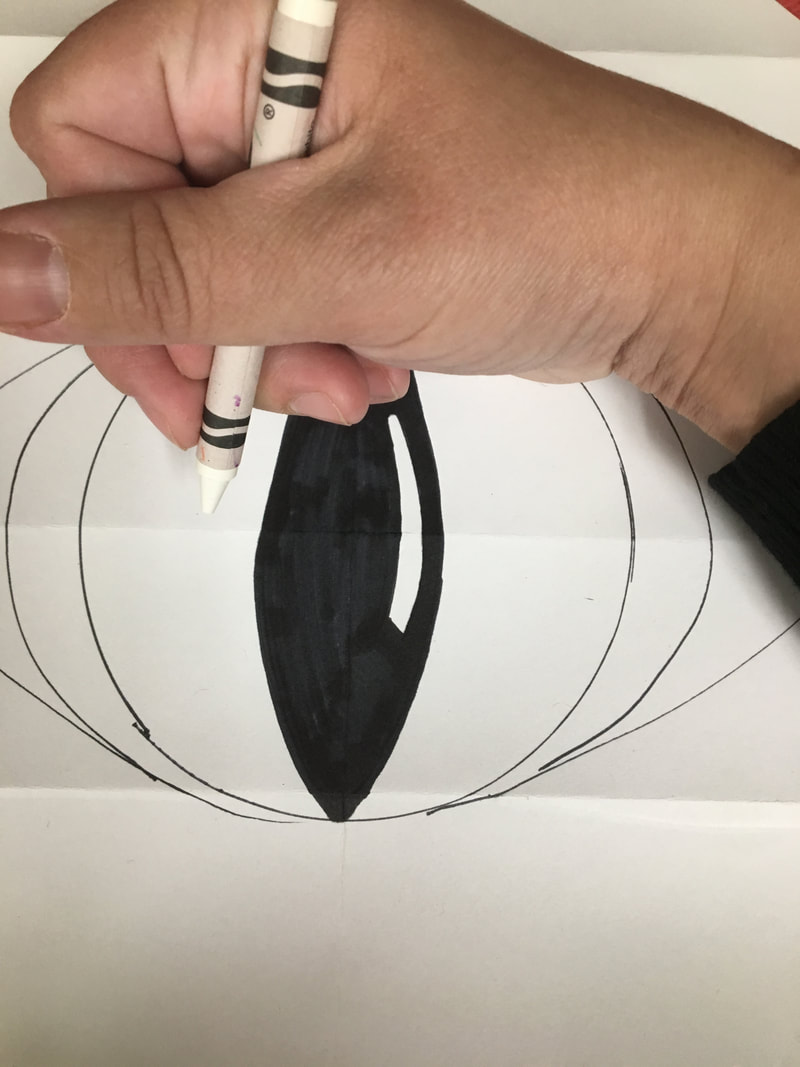
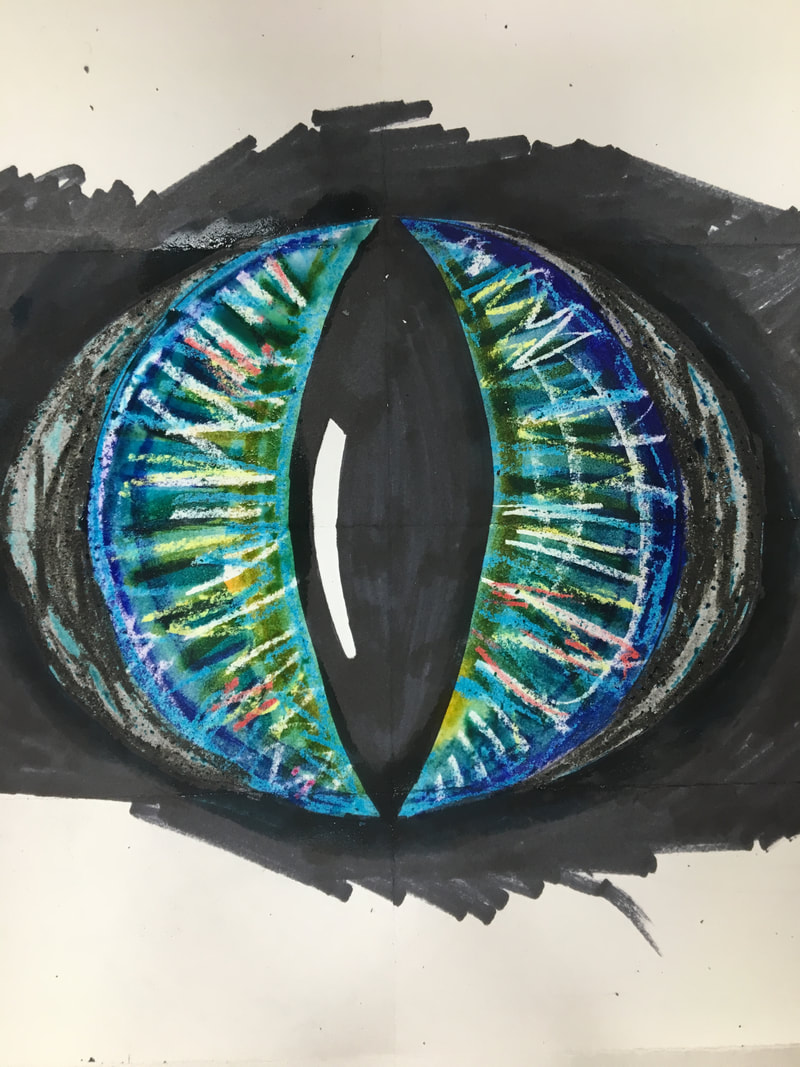
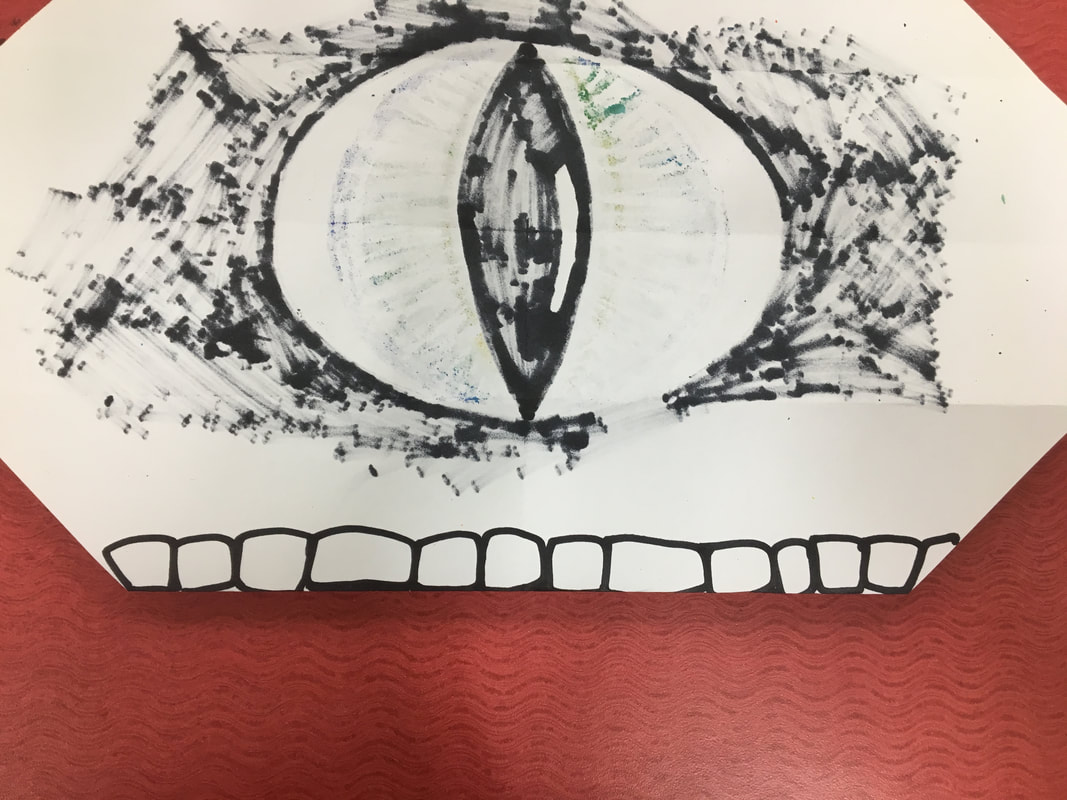
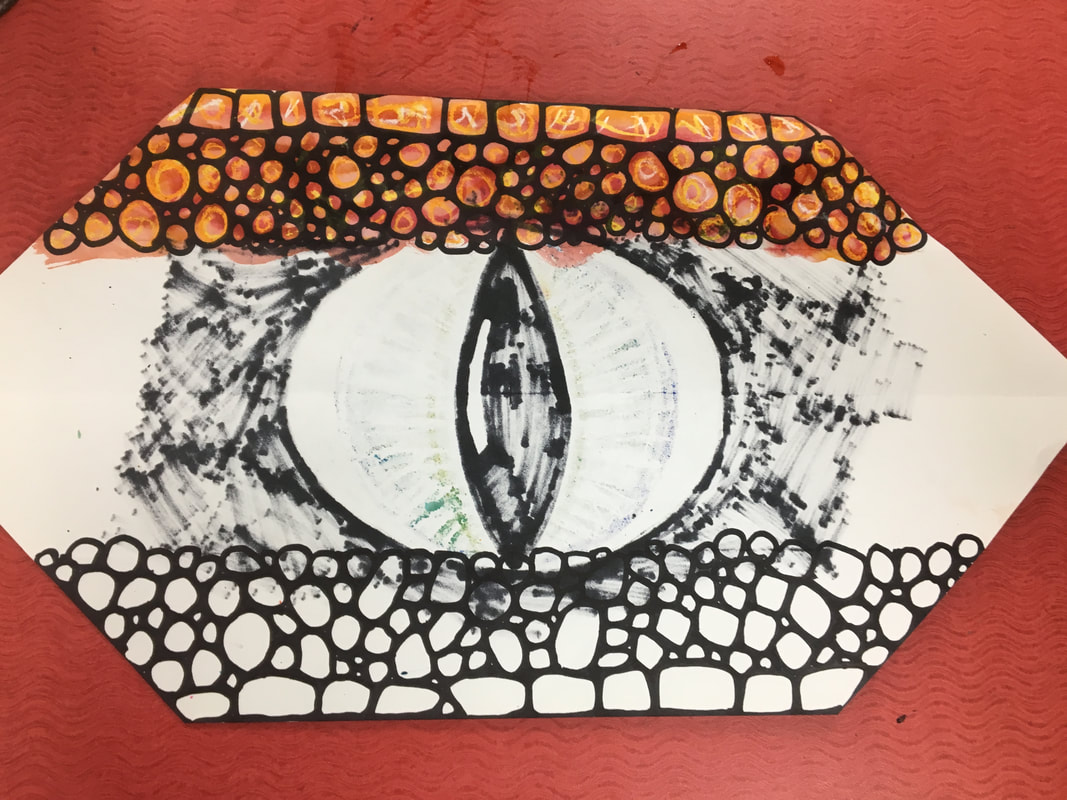
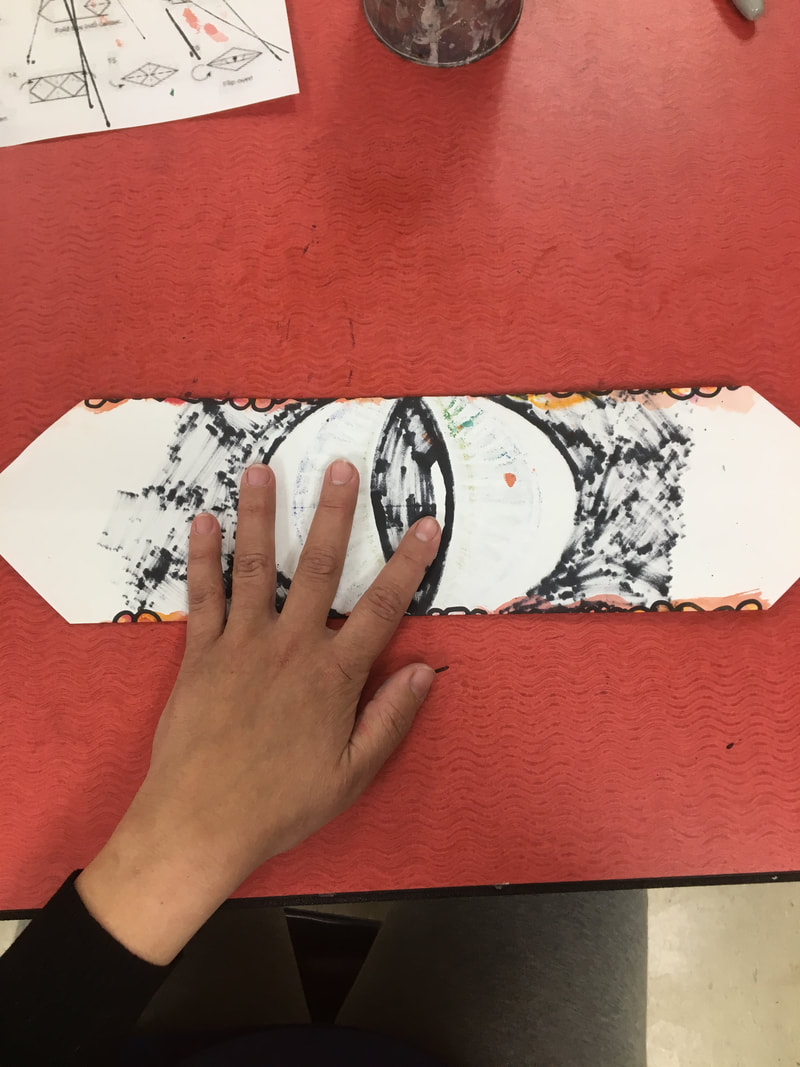
Your eye will really only take up the middle two slices of your paper. Start by drawing the shape of your pupil (see images below) and the overall shape of your eyeball (most likely a circle). After that, add a couple of curved lines on each side of your eyeball. These will kind of look like extra skin when it is finished. Don't forget to include a skinny curved rectangle to your pupil shape. This will make it look like your eye is shiny and slippery. Finally, trace all of your pencil lines and color your pupil in with permanent marker.
In this step, if you are using the printed template, you will create your eye inside the space provided. The project that is pictured in this tutorial was created WITHOUT the template.
Your eye will really only take up the middle two slices of your paper. Start by drawing the shape of your pupil (see images below) and the overall shape of your eyeball (most likely a circle). After that, add a couple of curved lines on each side of your eyeball. These will kind of look like extra skin when it is finished. Don't forget to include a skinny curved rectangle to your pupil shape. This will make it look like your eye is shiny and slippery. Finally, trace all of your pencil lines and color your pupil in with permanent marker.

If you are stumped and need something to look at, check out some of the close up Dragon/Lizard Eyes I found here.
STEP 3: Color Your Eye
In this step, you DO NOT need to follow my exact directions and you do not need to have all of the supplies I use. These eyes still look really cool even if you only have a pencil to use.
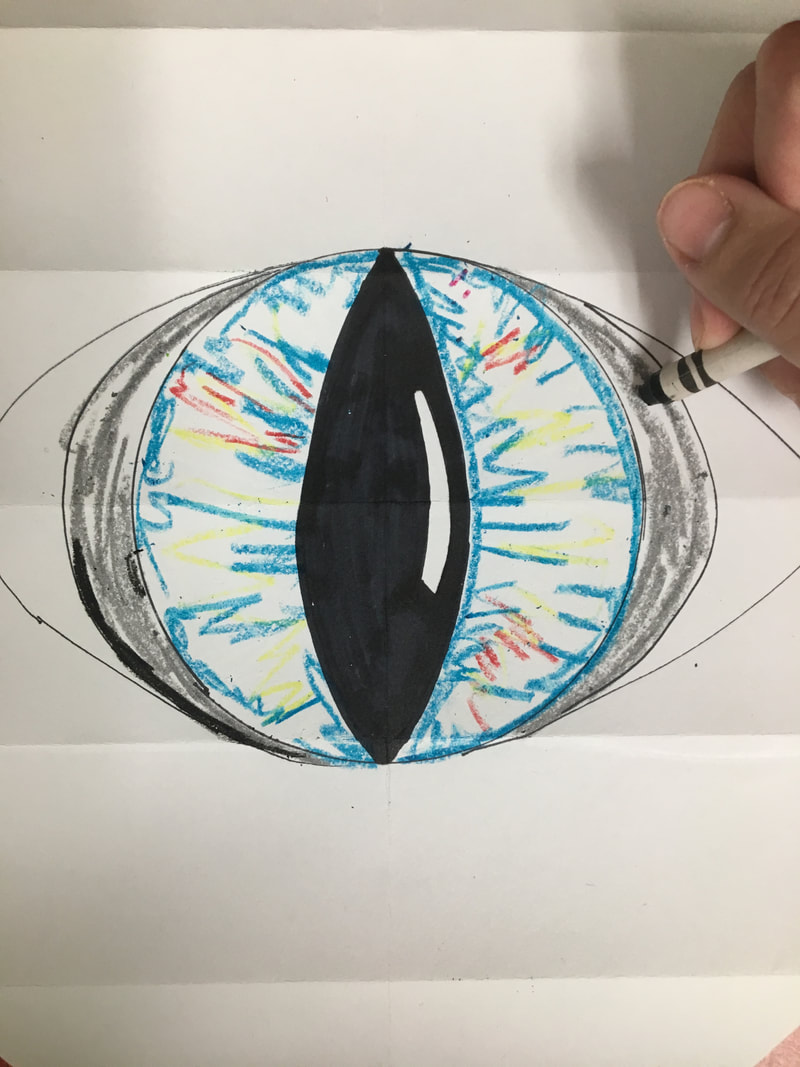
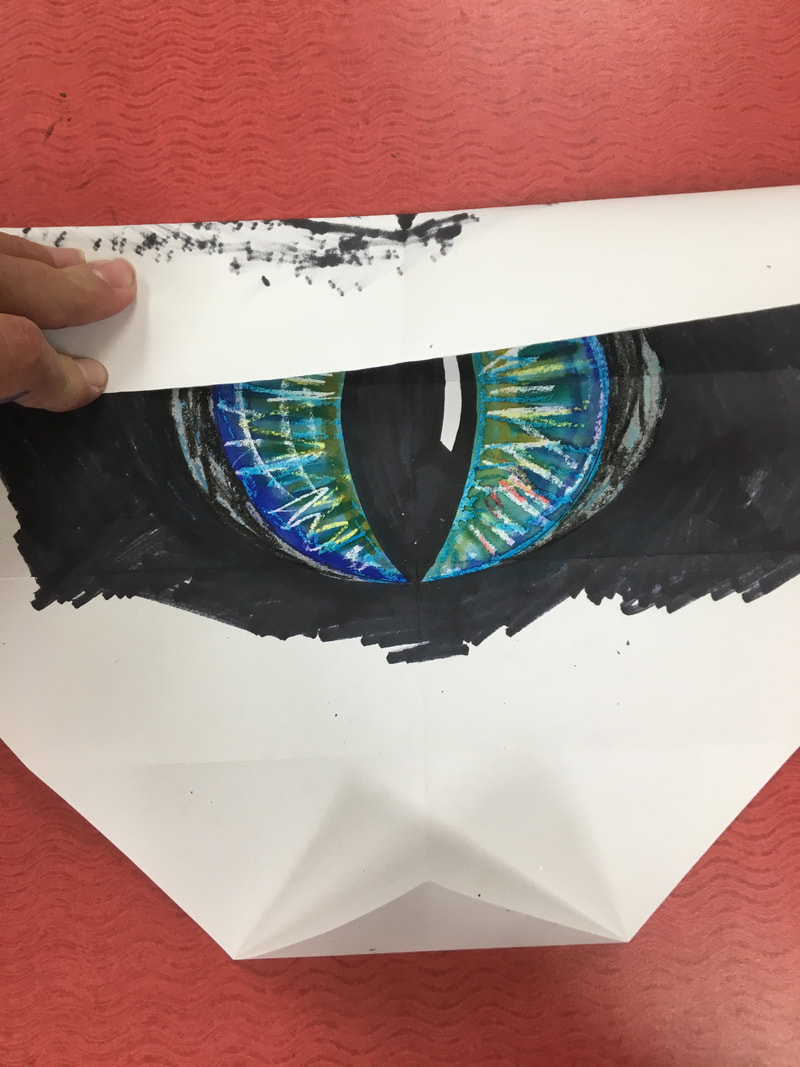
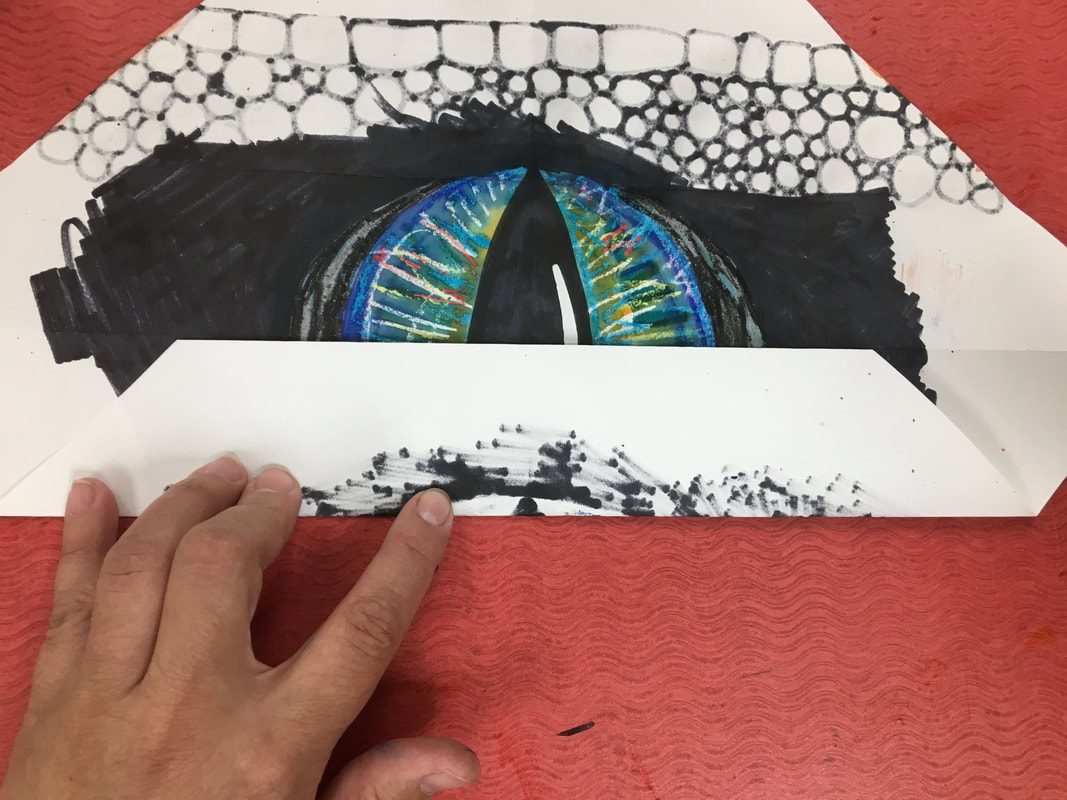
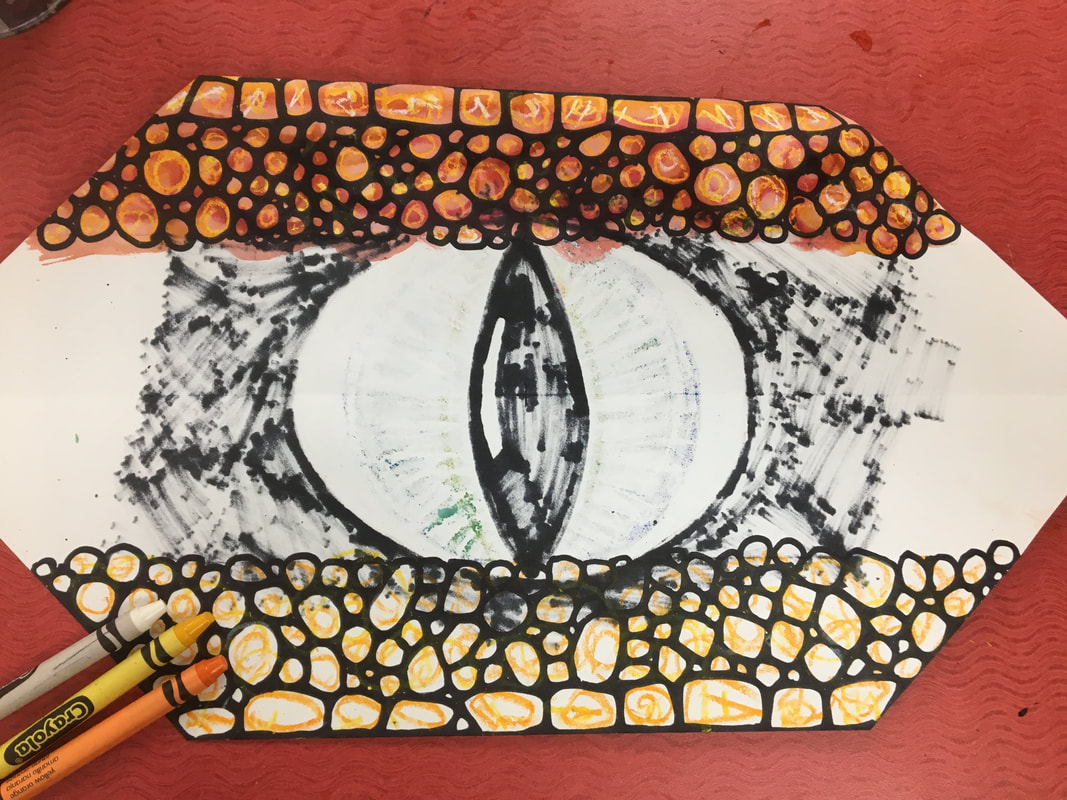
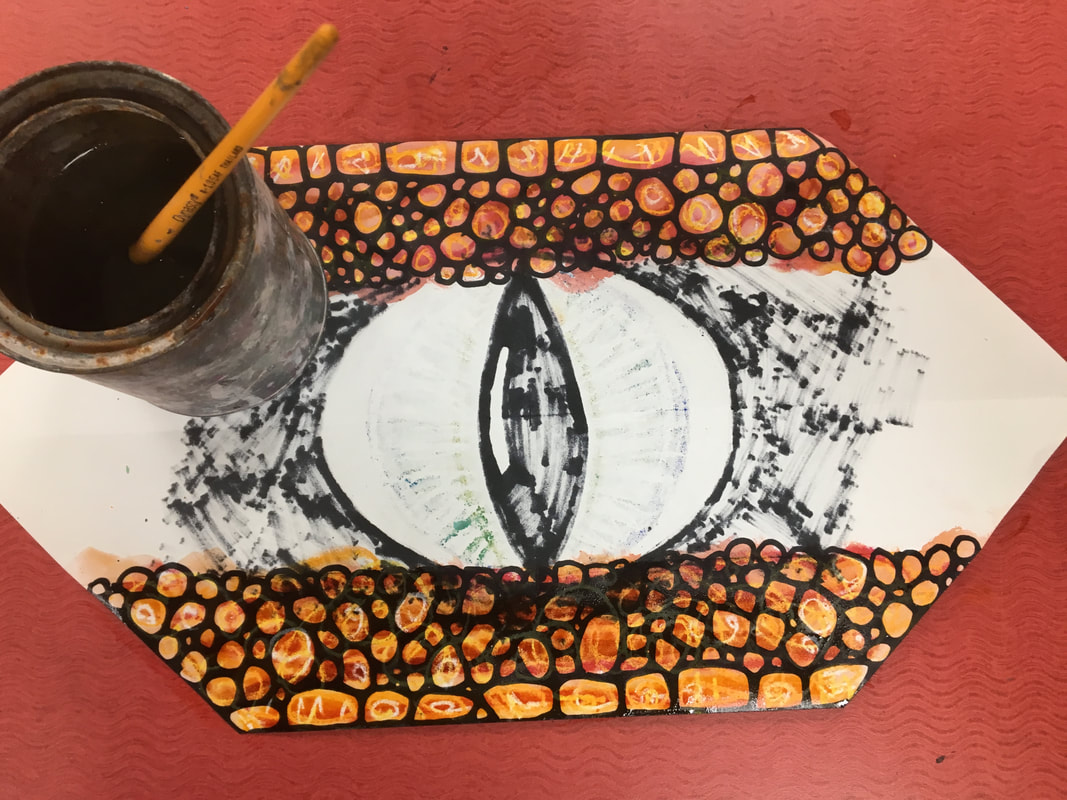
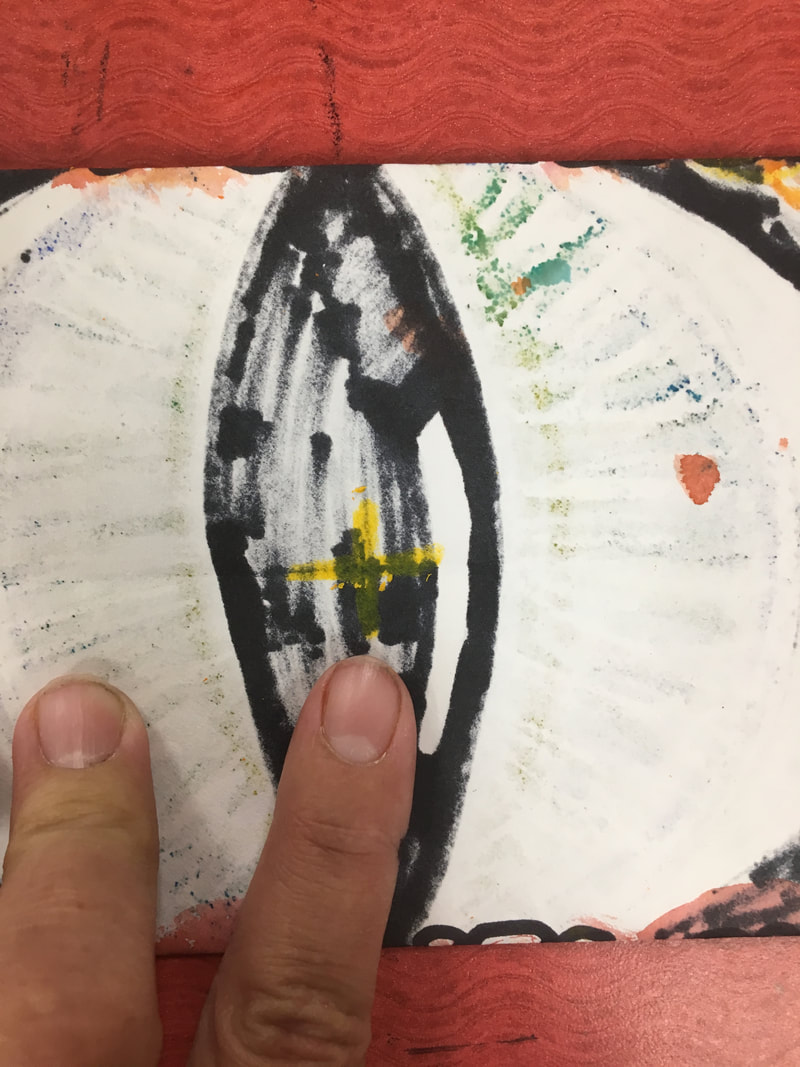
First, I chose my color scheme for the IRIS of my eye. I wanted to use mostly COOL Colors, with a splash of red and yellow. Notice the eyes in the photos above. The colored part of the eye (the iris) has tiny lines inside of it. In most pictures those lines shoot out from the pupil. With your crayon, create some detailed lines like this in your eye. After that, do the same with your washable markers. Finally, you can brush water over top to create a beautiful iris.
In this step, you DO NOT need to follow my exact directions and you do not need to have all of the supplies I use. These eyes still look really cool even if you only have a pencil to use.
First, I chose my color scheme for the IRIS of my eye. I wanted to use mostly COOL Colors, with a splash of red and yellow. Notice the eyes in the photos above. The colored part of the eye (the iris) has tiny lines inside of it. In most pictures those lines shoot out from the pupil. With your crayon, create some detailed lines like this in your eye. After that, do the same with your washable markers. Finally, you can brush water over top to create a beautiful iris.

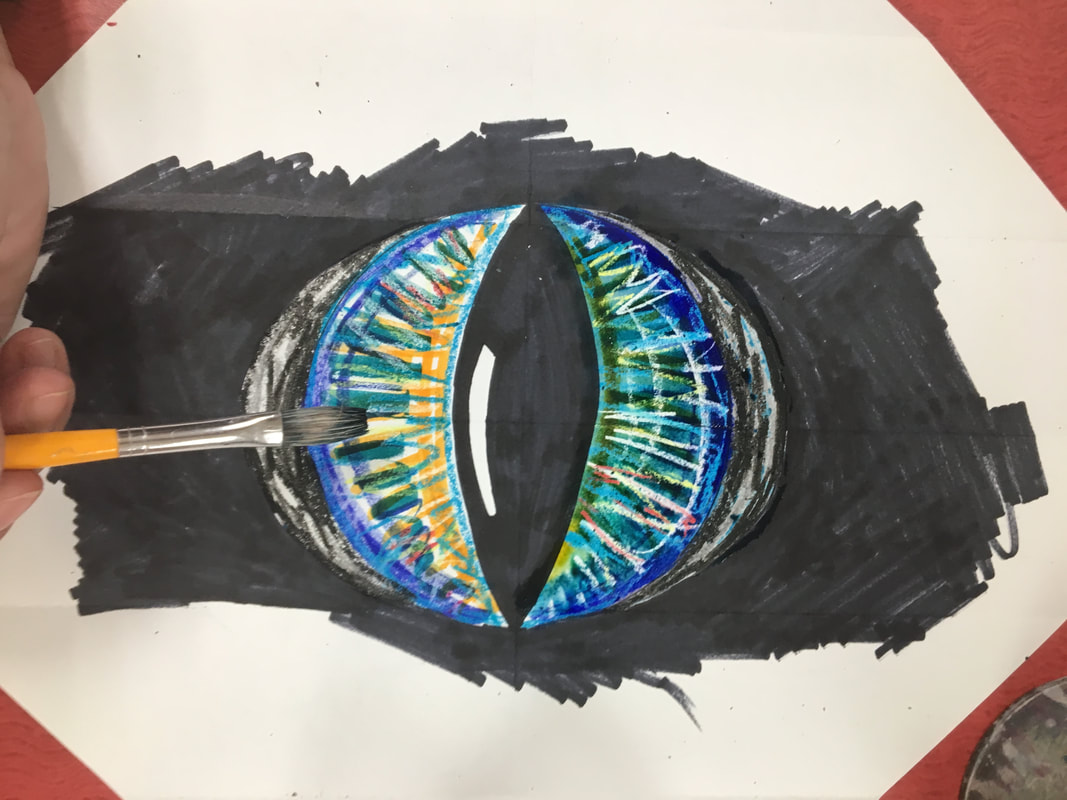
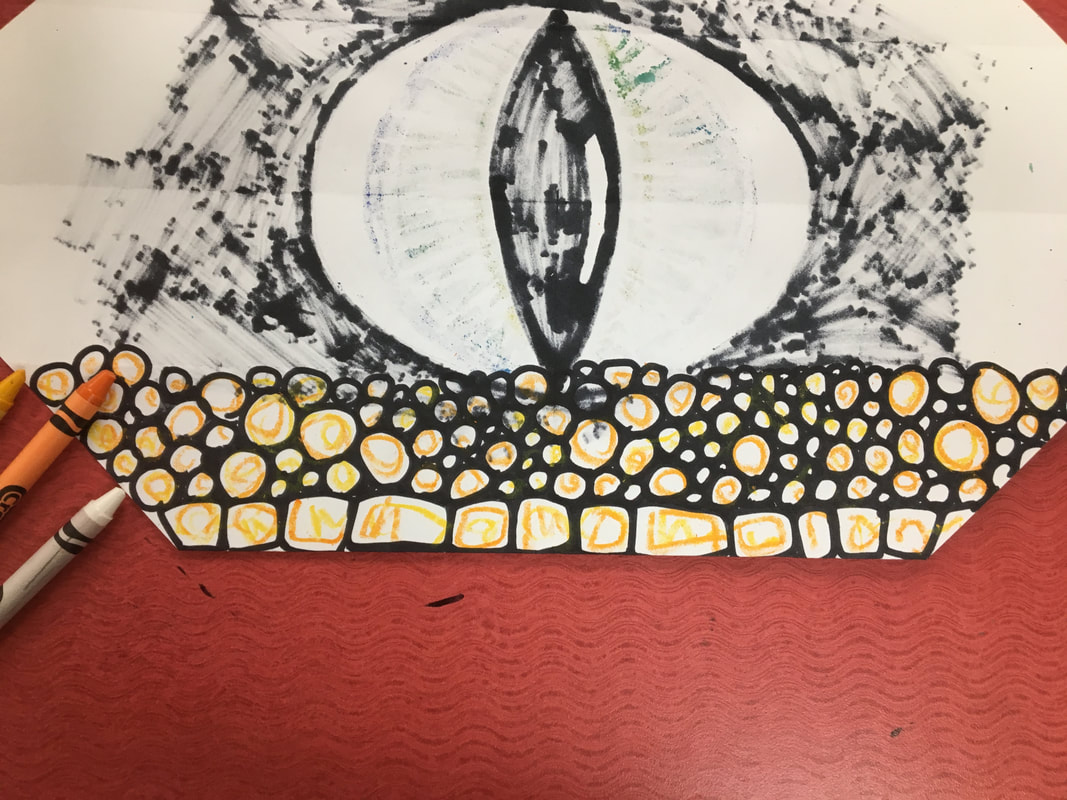
| Make sure to color in around your eyeball with black permanent marker. You DO NOT need to color the entire paper, just a little bit around the eye. | 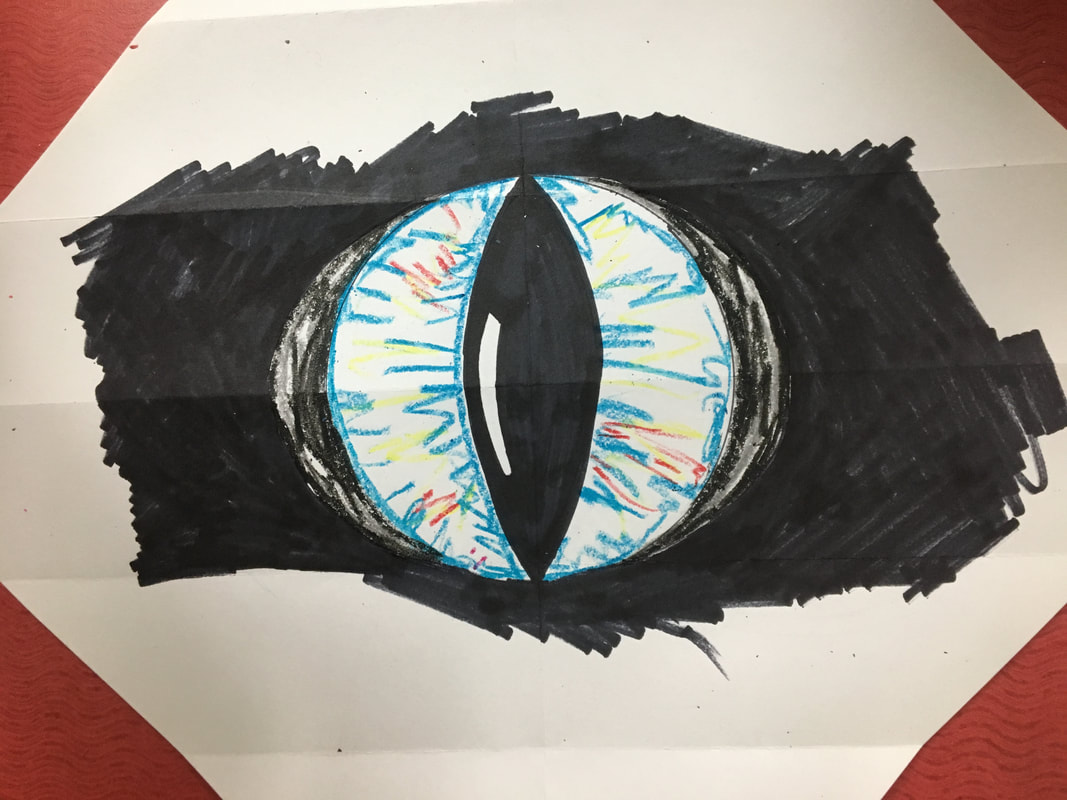 |
STEP 4: The Eyelid
We will now fold our paper up so that we know what rectangle slice to use as the top and bottom eye lid. Starting at the top corner. Fold the corner down towards the pupil, do this two more times. so that half of the eyeball is covered up. This strip of paper will be your top eyelid.
We will now fold our paper up so that we know what rectangle slice to use as the top and bottom eye lid. Starting at the top corner. Fold the corner down towards the pupil, do this two more times. so that half of the eyeball is covered up. This strip of paper will be your top eyelid.
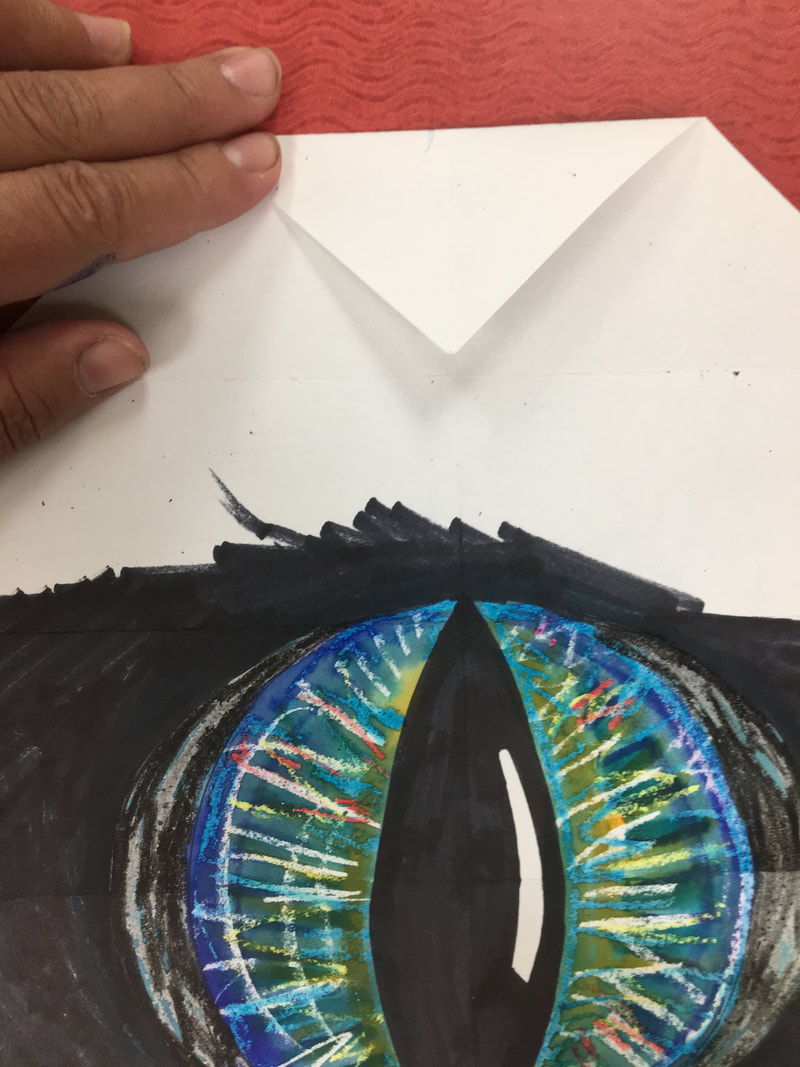
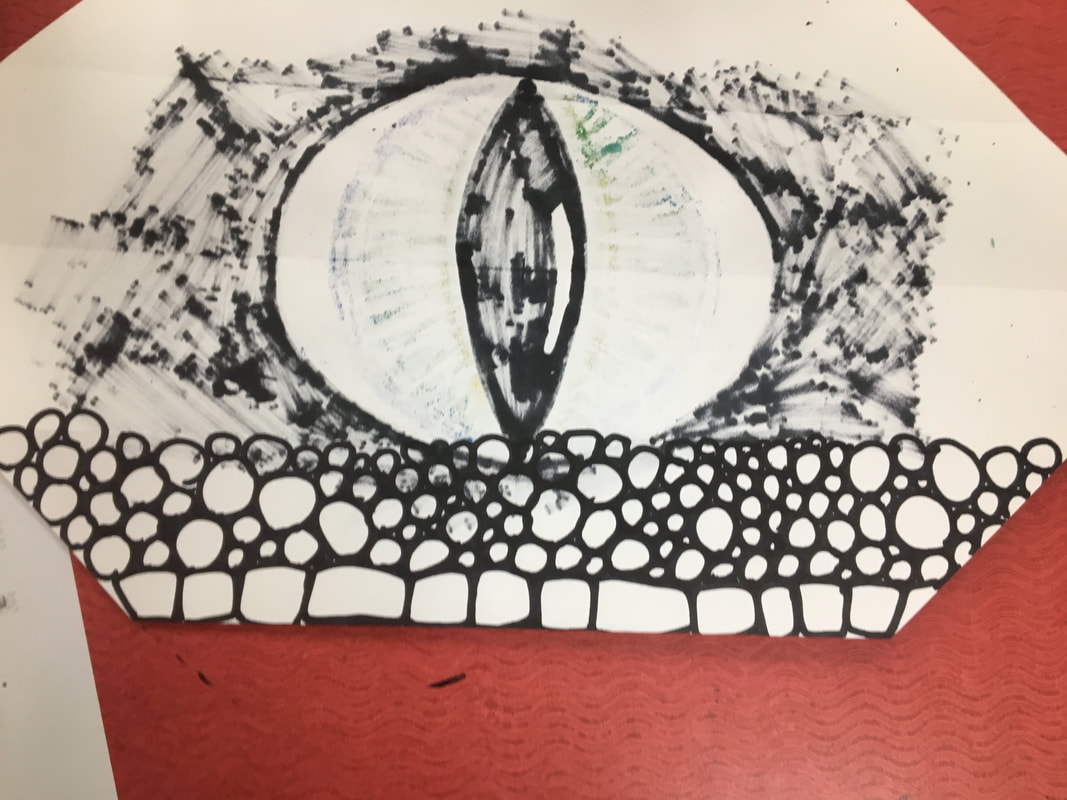
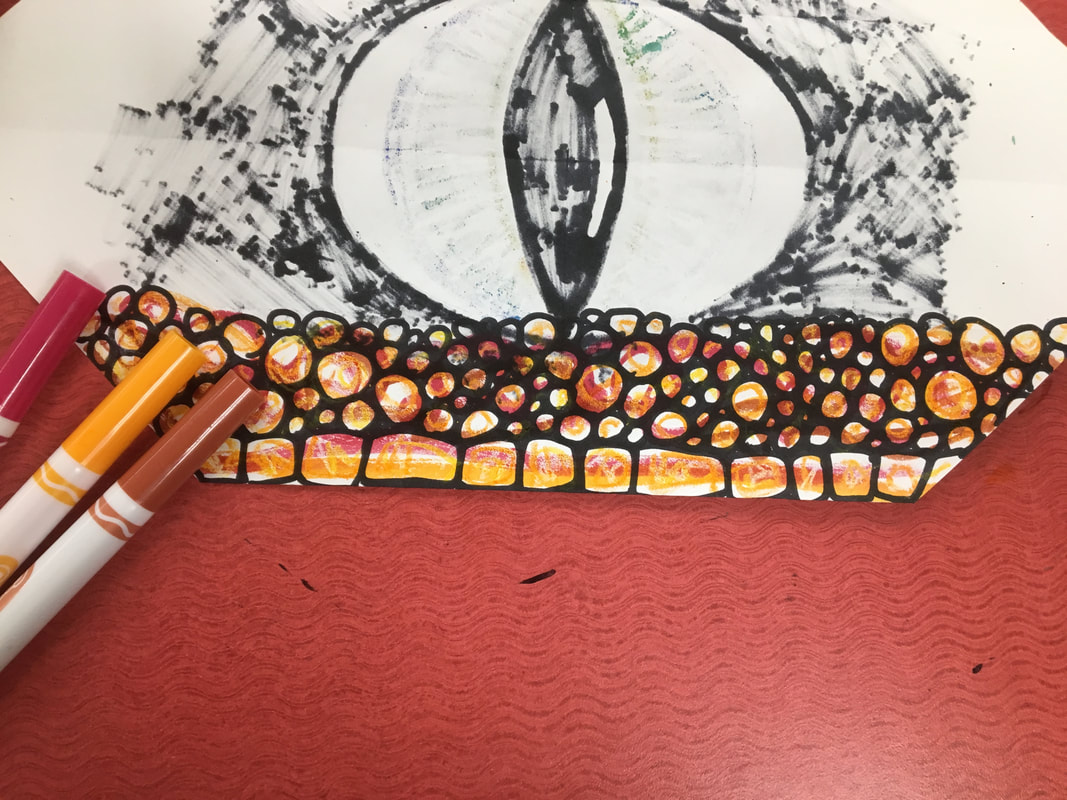
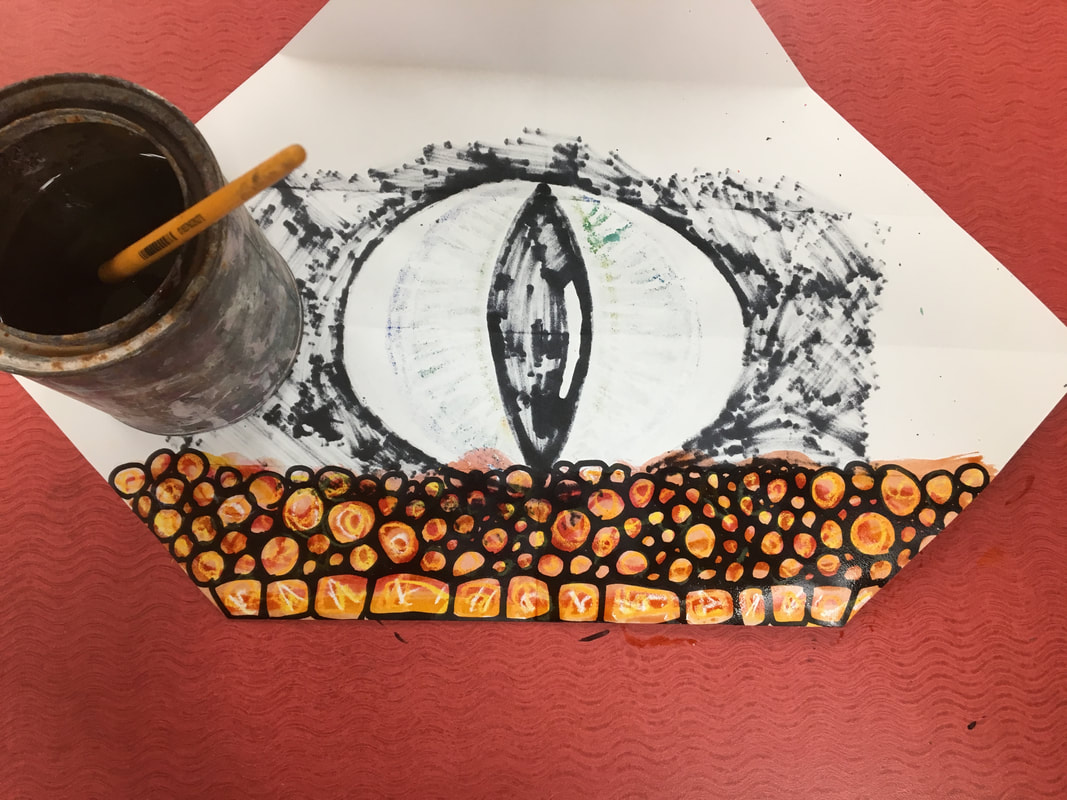
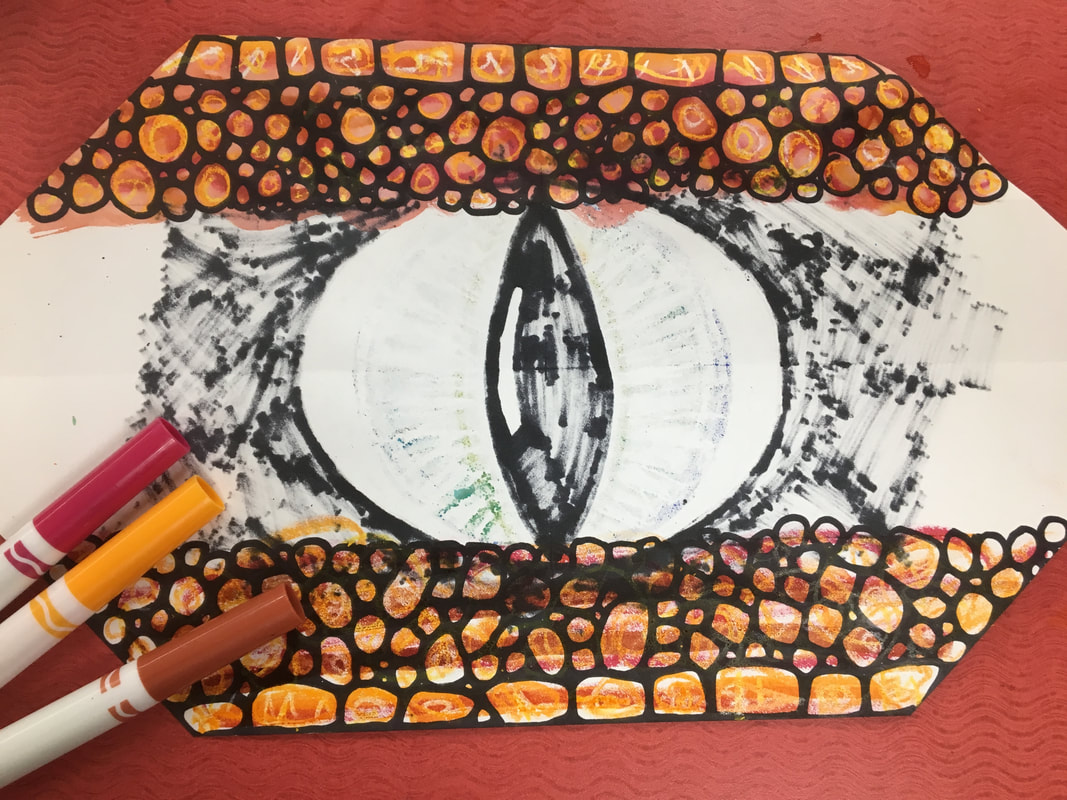
So that I did not accidentally draw on top of my eye, I let my paper open up so that I was only drawing on the eye lid. It will look like you are drawing on the back of your paper, because you are....that's OK! Using the dragon eye images above, sketch your scales in pencil and trace with sharpie. After that, you can use crayons to add a little texture, washable marker next, and brush water over top. Look how great that turns out!
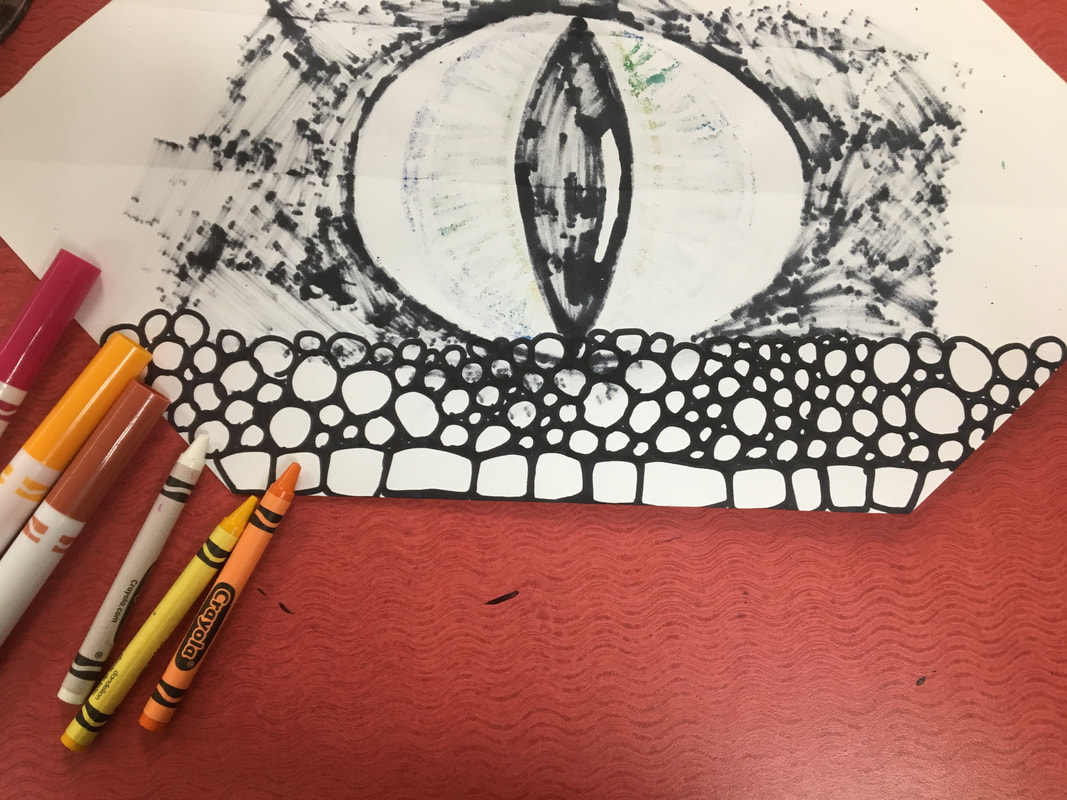
Repeat these steps to create your bottom eyelid.
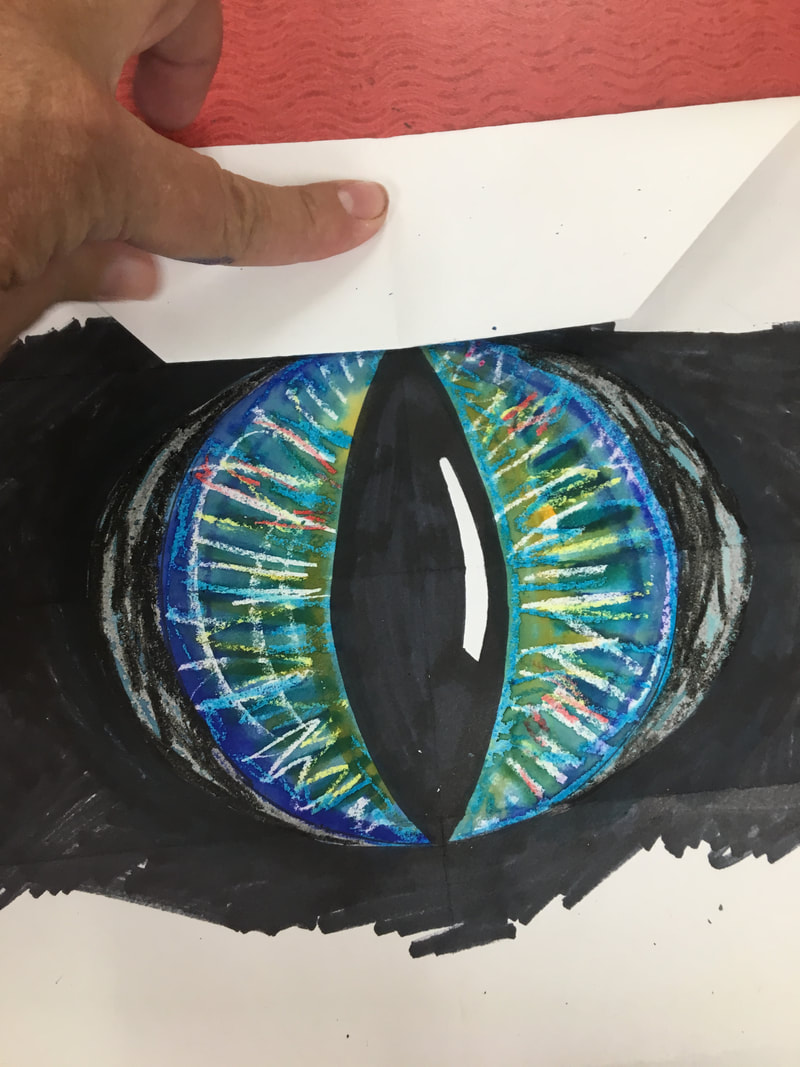
Fold your paper so that the eyelids are covering the eyeball.

STEP 5: Finish the Folds
To finish these Blinking Dragon's Eyes, we need to create folds so that the shape of the eye is a rhombus or a diamond. This will allow your eyelids to open and close like they are blinking.
Flip your paper over, and fold the corner on the RIGHT side so that it is touching the "X" you made to mark the center of your paper at the beginning of the project.

| Repeat this step for the corner on the LEFT side. |  |
Now we need to fold each corner in to create our diamond shape. In order to do this equally, the fold or crease on each corder should go from the center of the side to the center of the top or bottom. See Diagram Below....


You are all finished!
 |  |
Don't Forget to Share your Masterpiece with Mrs. Castellano!
 RSS Feed