
Every child should have a journal to record ideas, observations, thoughts, and feelings. Some children love to write, others cannot get enough time to just draw! This book will surely serve you and your kiddos well over the next few weeks. The best part about it is you can easily add more blank pages as it fills up!
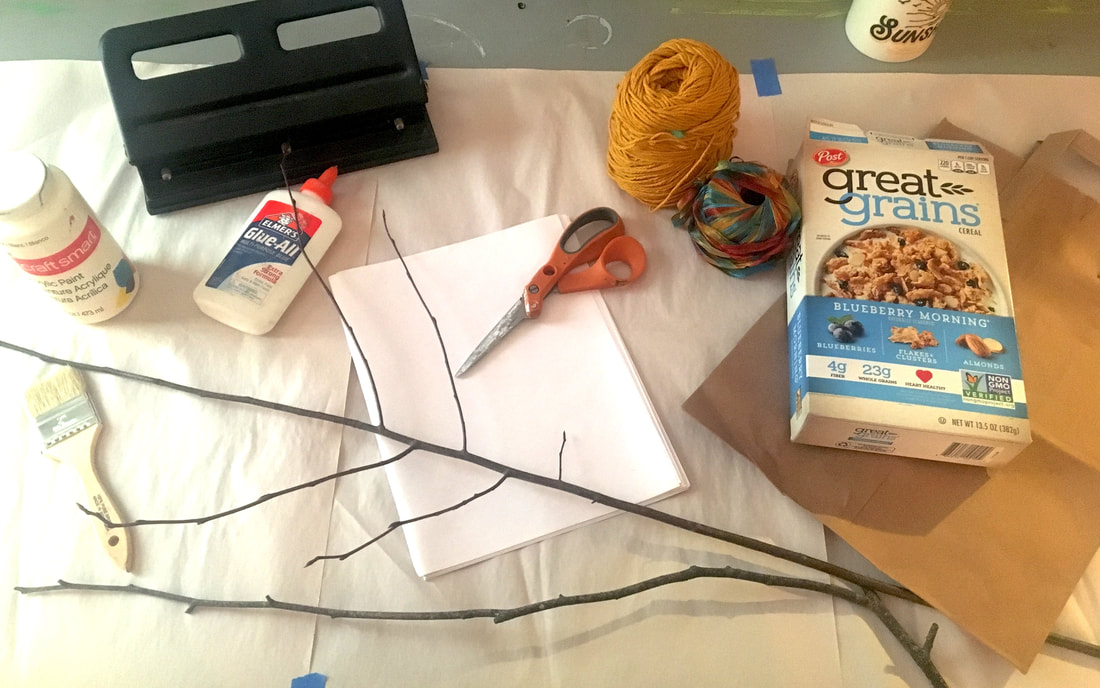
For this DIY Journal/Sketchbook you will need simple supplies you can find at home, or cheap from the dollar store (if they are still open :/) You will need
Now let's get to it!
For this DIY Journal/Sketchbook you will need simple supplies you can find at home, or cheap from the dollar store (if they are still open :/) You will need
- Paper (can be lined, blank, even recycled paper works--one side blank)
- Cereal Box or Paper Grocery Bag (for the cover)
- Yarn or Ribbon for binding your pages
- paint, crayons, markers, paper scraps (anything to decorate your cover will work!)
- Nice straight stick for the spine of your book (about as thick as your pinky finger)
- Scissors to cut your paper to fit your cover
- Hole Puncher (can be single or three hole)
Now let's get to it!
Step 1: PREPARE your book cover
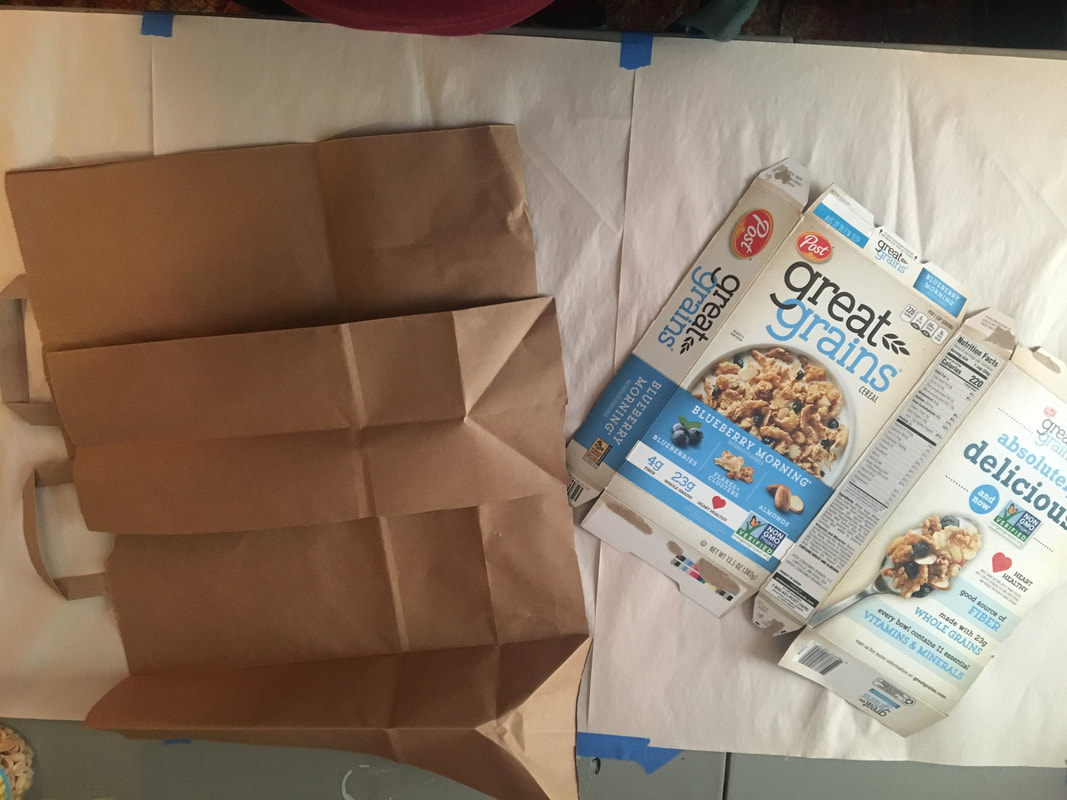
First you will want to open up your cereal box or grocery bag by cutting a fold line in the box/bag. You will be trimming the edges later, so this does not have to be perfect.
First you will want to open up your cereal box or grocery bag by cutting a fold line in the box/bag. You will be trimming the edges later, so this does not have to be perfect.
Step 2: DESIGN your book cover
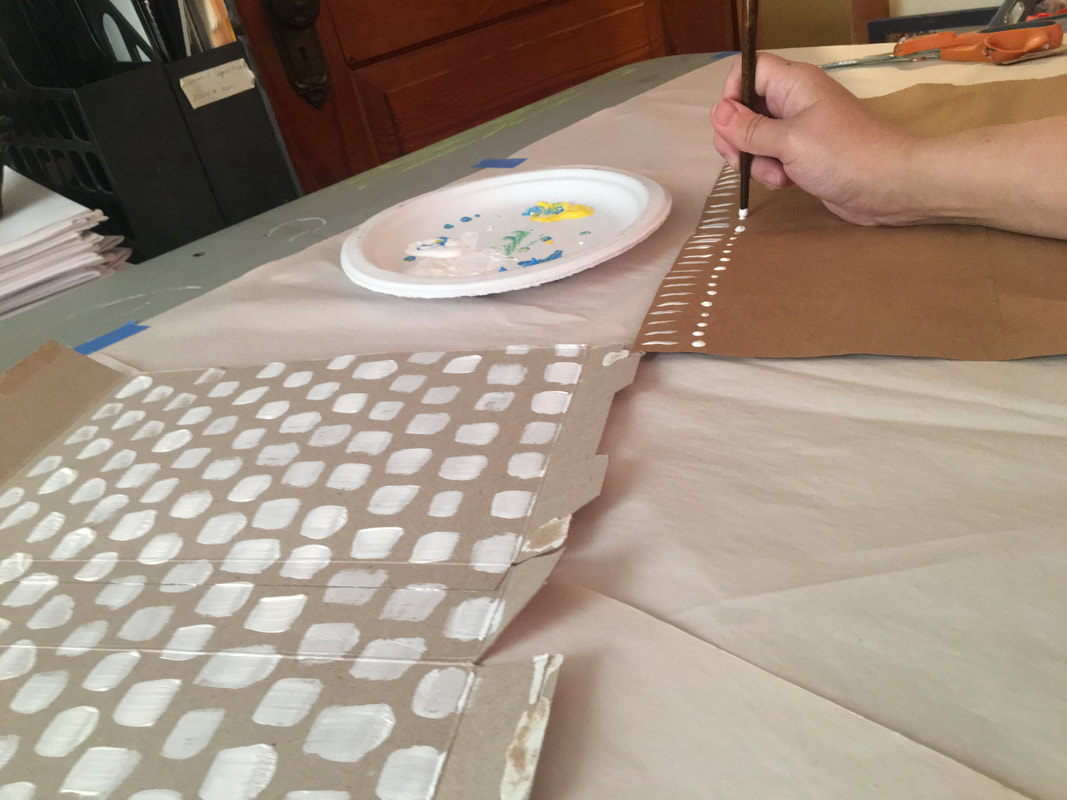
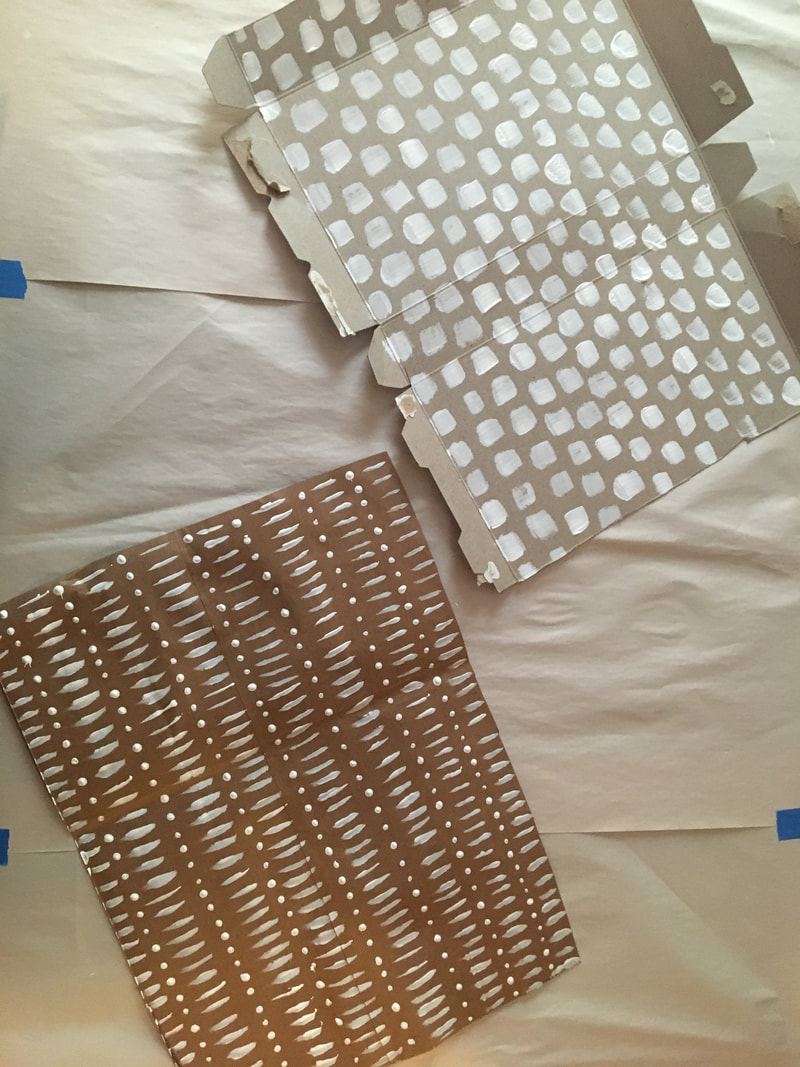
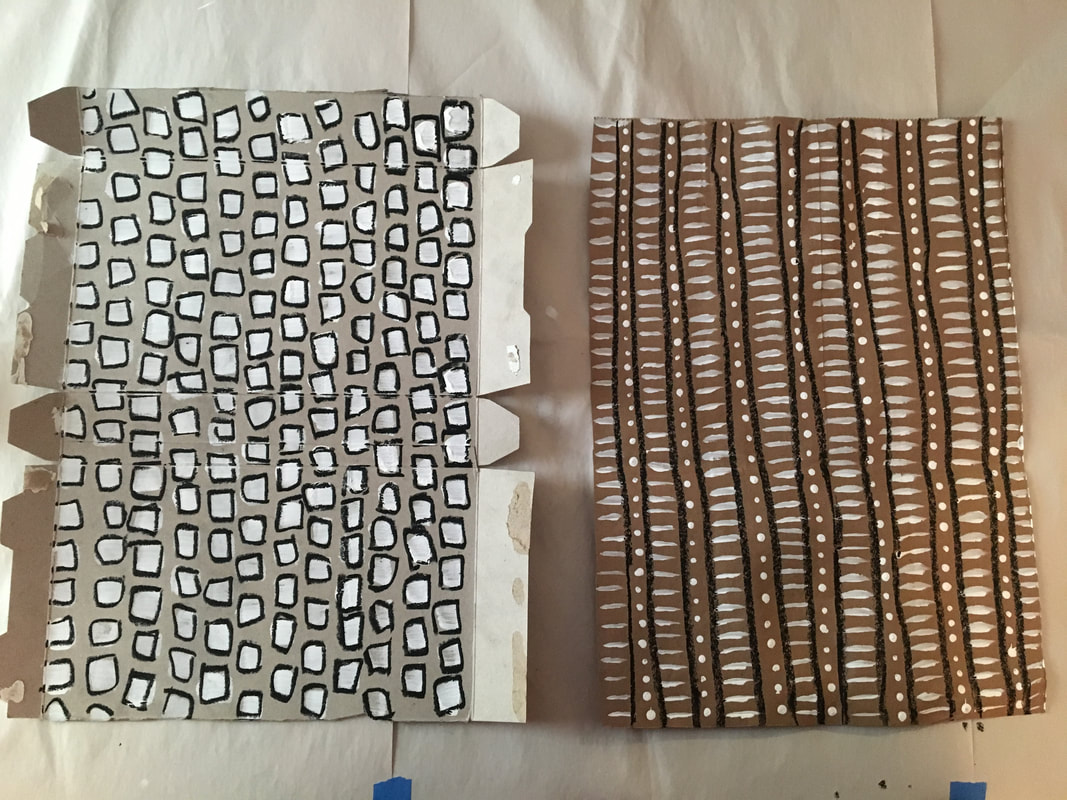
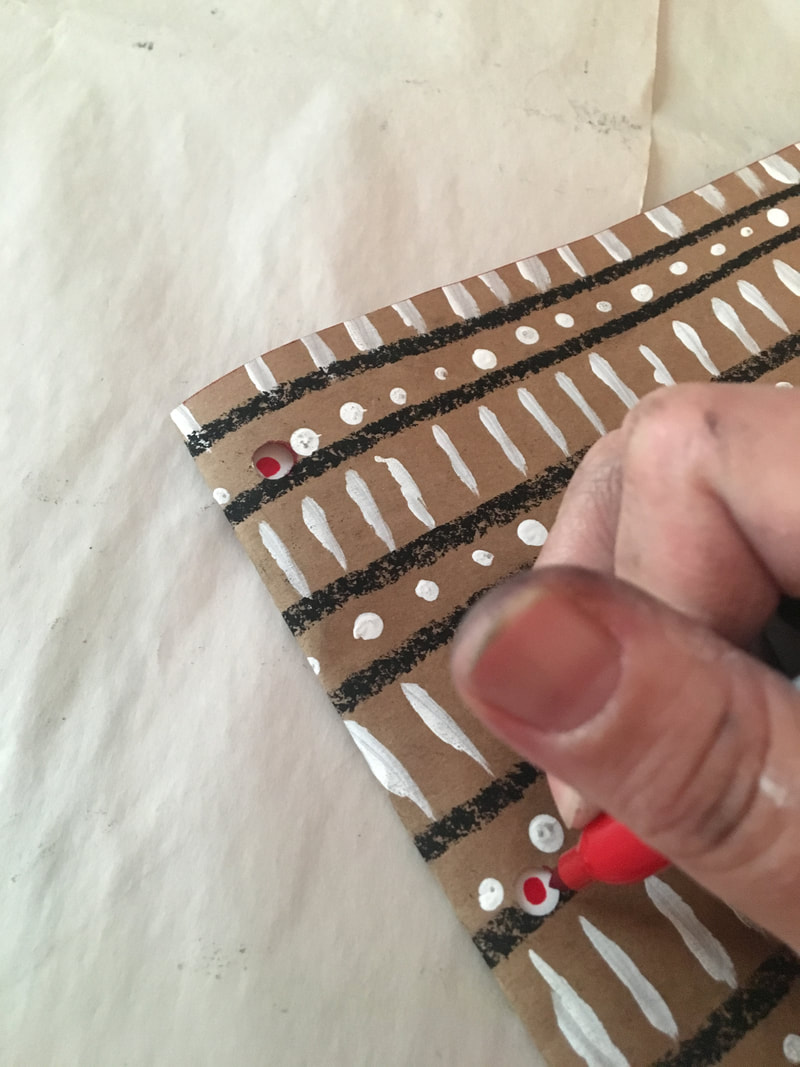
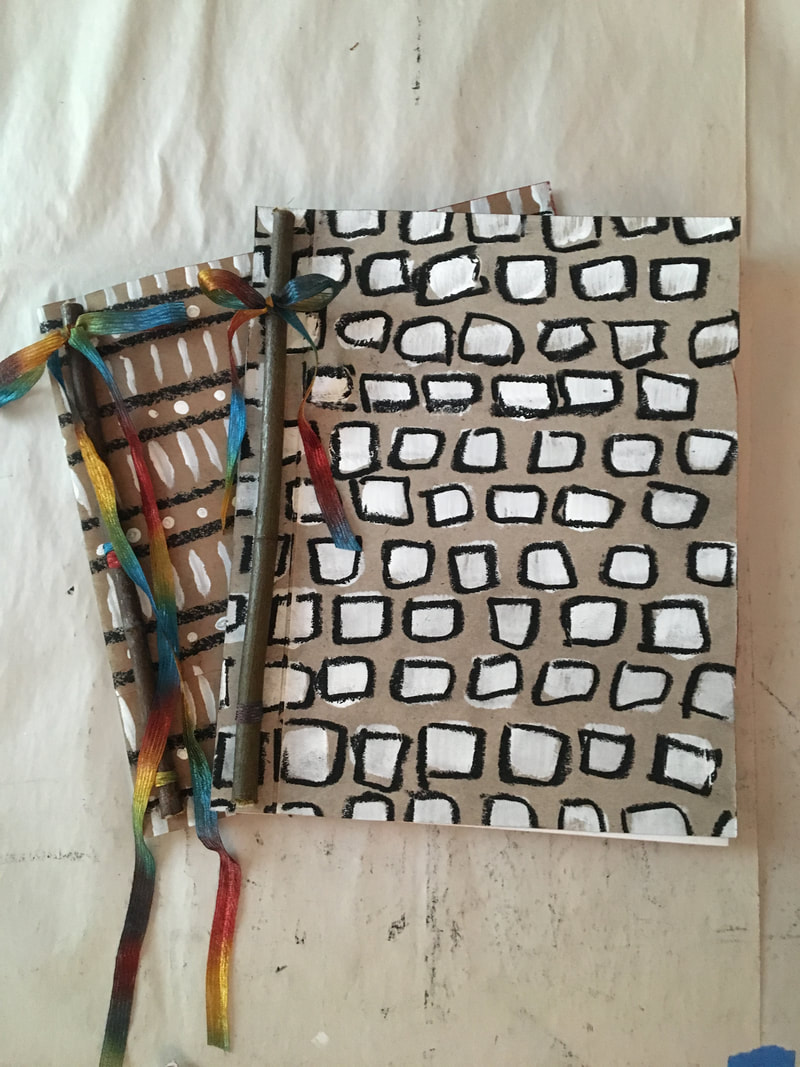
You can use any materials you can find in your house to design your book cover. Paint, color, collage! They all work great! I chose to use some leftover white house paint I had in a closet to paint the patterns on my covers. After it dried, I used a black crayon from my daughters art box to embellish the simple design I painted.
You can use any materials you can find in your house to design your book cover. Paint, color, collage! They all work great! I chose to use some leftover white house paint I had in a closet to paint the patterns on my covers. After it dried, I used a black crayon from my daughters art box to embellish the simple design I painted.
Step 3: CUT your cover to the size you want it
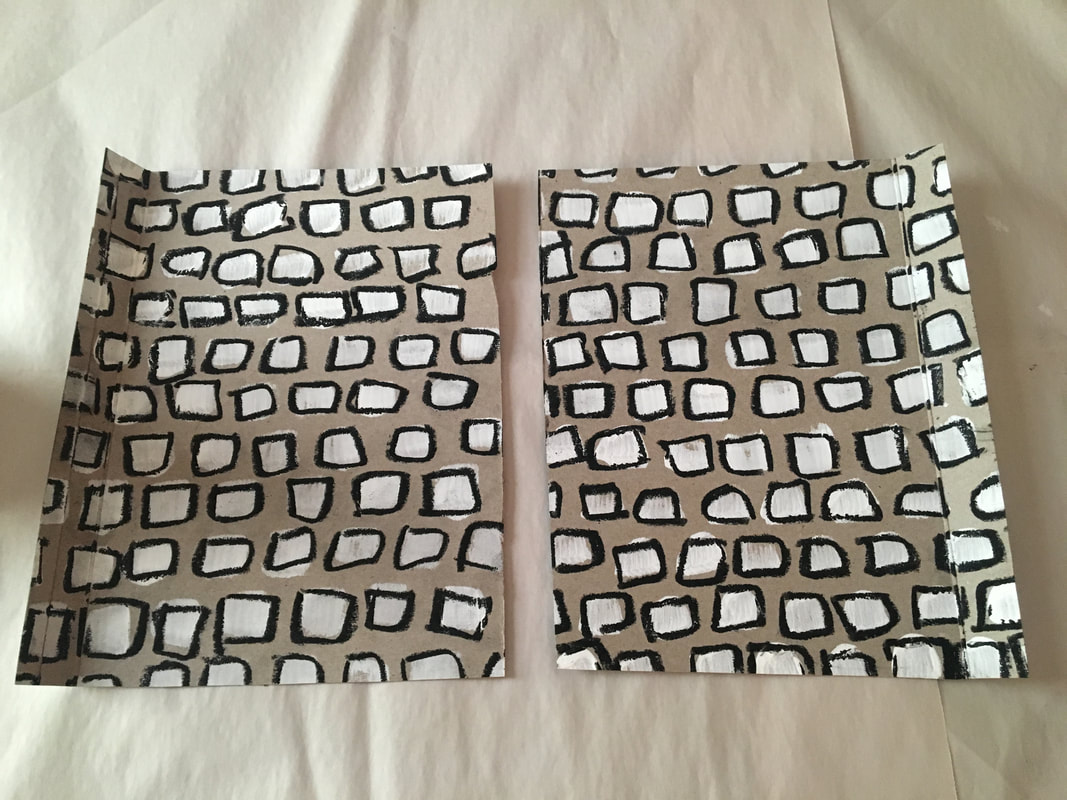
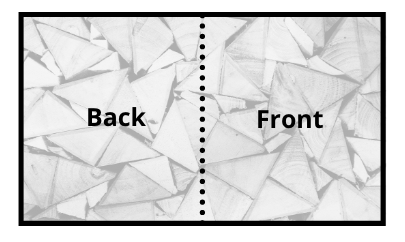
CEREAL BOX: You will want to cut your cereal box so that you have to equal pieces (front and back cover). It is helpful if you cut the pieces so that a fold in the box, goes down the length of your cover about 1/2"-1" from the edge (see diagram below). This will help opening your book without having to make additional creases.
CEREAL BOX: You will want to cut your cereal box so that you have to equal pieces (front and back cover). It is helpful if you cut the pieces so that a fold in the box, goes down the length of your cover about 1/2"-1" from the edge (see diagram below). This will help opening your book without having to make additional creases.

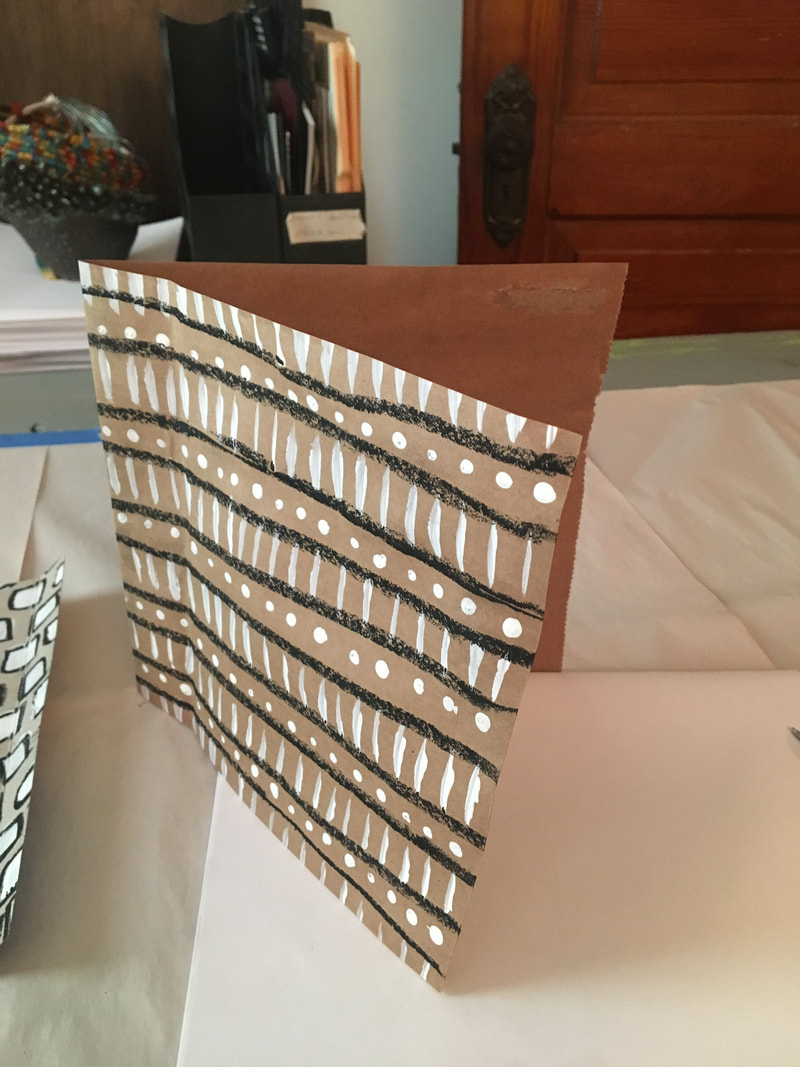
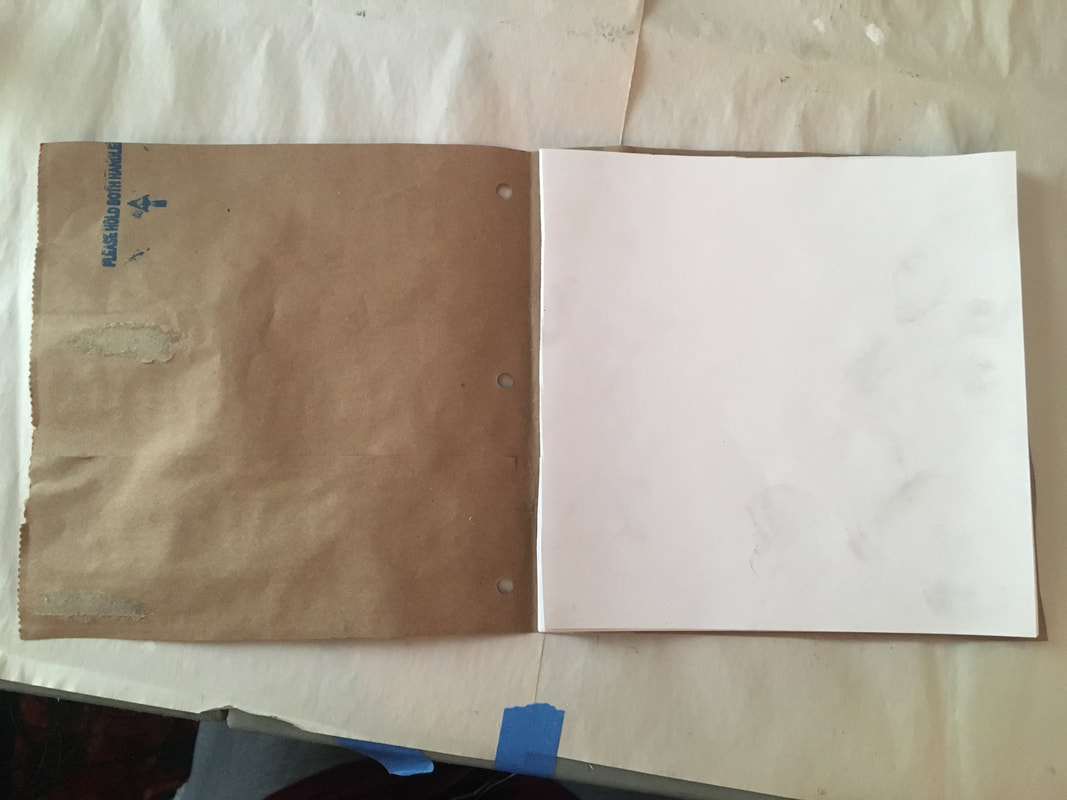
PAPER BAG: Cut your paper bag in to a rectangle large enough to fit your paper inside when folded in half.
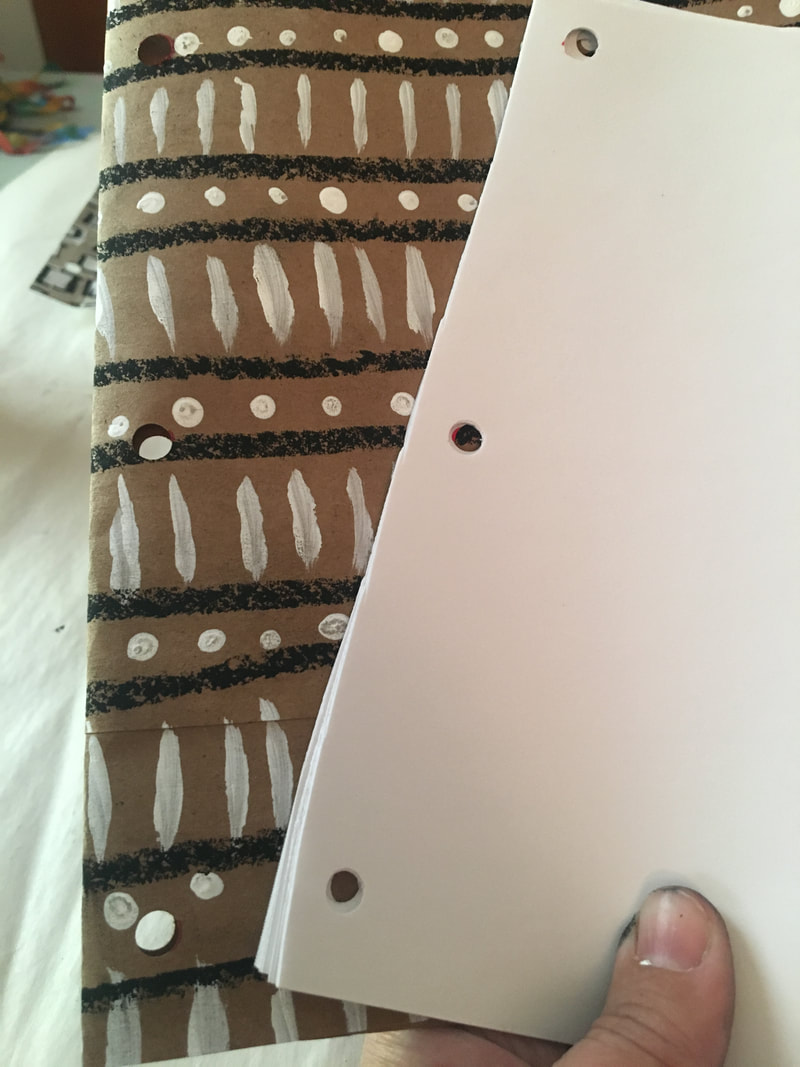
Step 4: CUT your inside paper to fit your book size and PUNCH holes (x2 or x3)
FIRST you should cut your inside paper to fit the size or your book. This does not have to be perfect :)
FIRST you should cut your inside paper to fit the size or your book. This does not have to be perfect :)
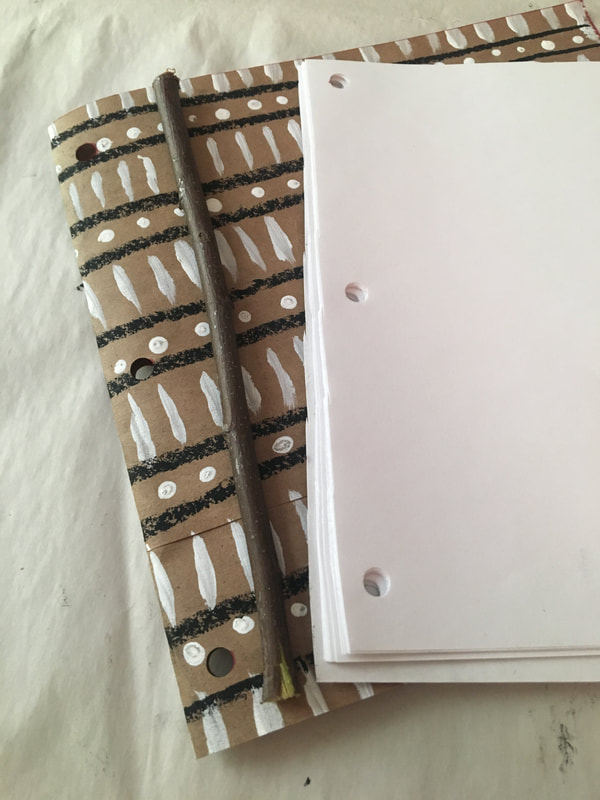
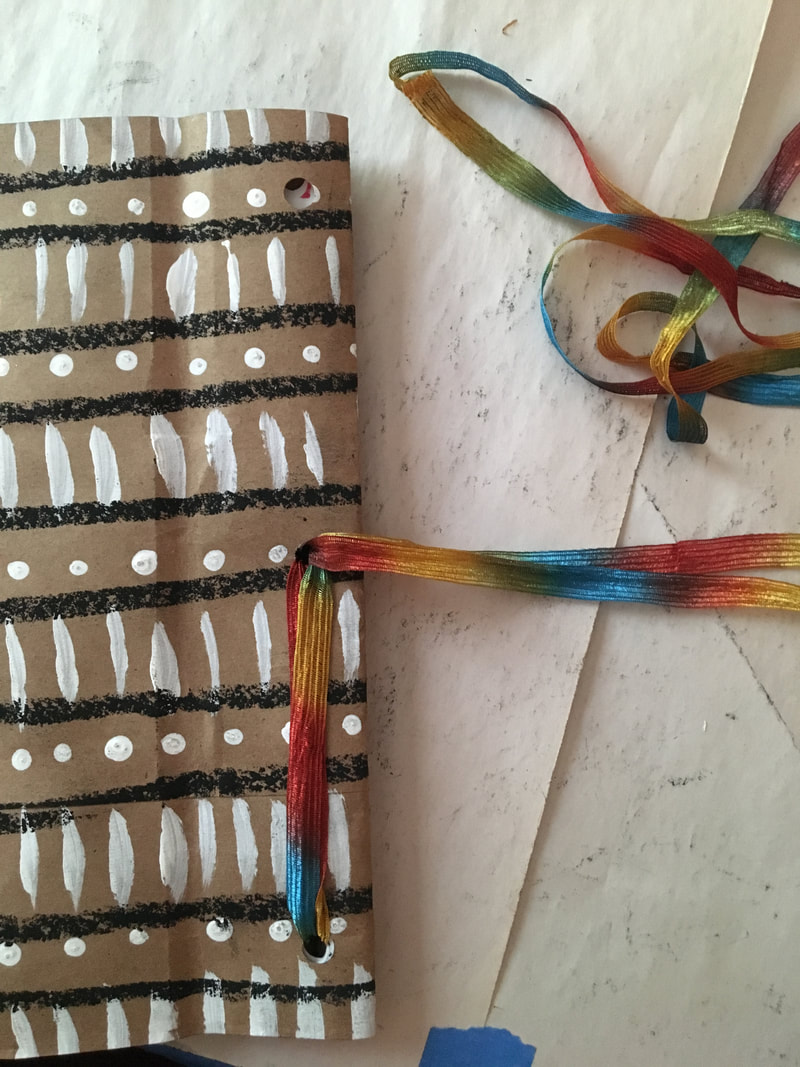
SECOND Punch 3 holes in your book covers. The holes should match up when the covers are together.
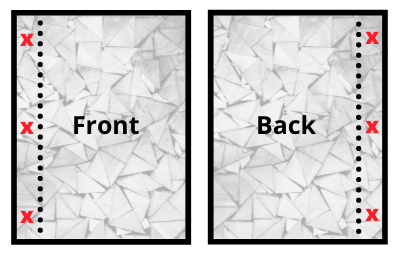
THIRD Use the holes in your cover as a template to punch matching holes in the rest of your pages.
Step 5: GET some FRESH AIR!
Take a walk outside to find a stick perfect for your binding. The stick should be fairly straight and about as thick as your pinky finger.
Take a walk outside to find a stick perfect for your binding. The stick should be fairly straight and about as thick as your pinky finger.
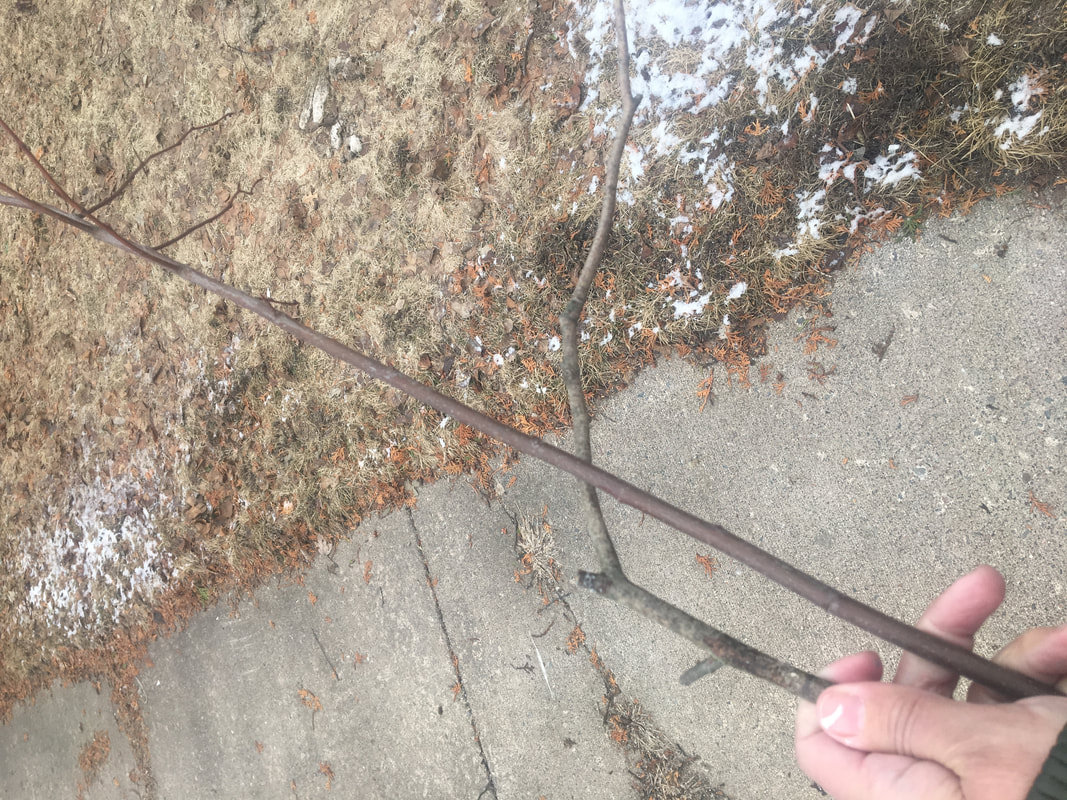
Step 6: CUT your stick to length
Cut or break your stick to a length just a bit shorter than your book binding.
Cut or break your stick to a length just a bit shorter than your book binding.
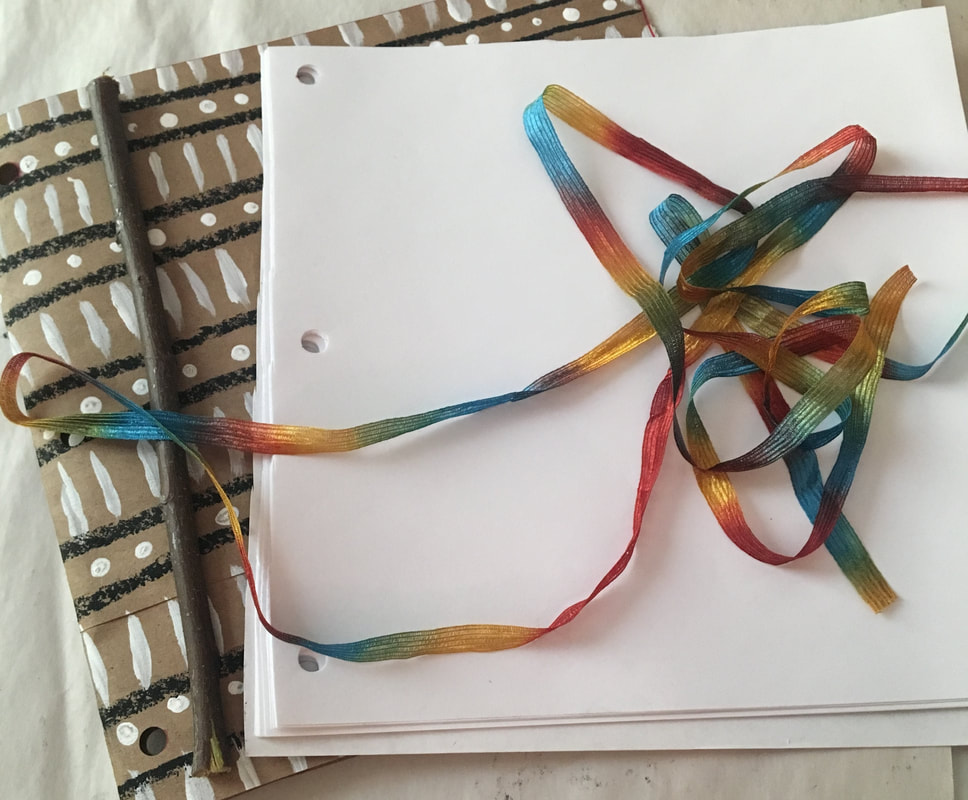
Step 7: BIND your book with ribbon or string
You will want to have thicker string for this step. Yarn or ribbon works great. You will want to have about a full arms length (finger tip to finger tip) of string. You would rather have to trim some off later than not have enough...extra is good :)
You will want to have thicker string for this step. Yarn or ribbon works great. You will want to have about a full arms length (finger tip to finger tip) of string. You would rather have to trim some off later than not have enough...extra is good :)
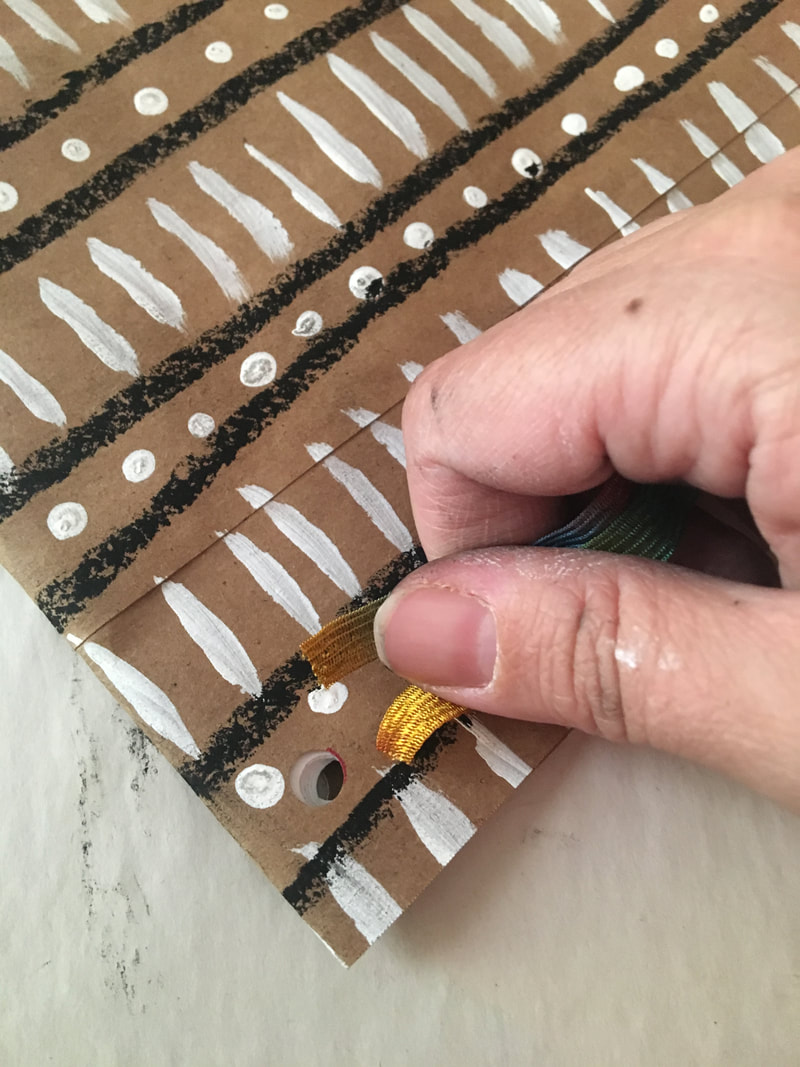
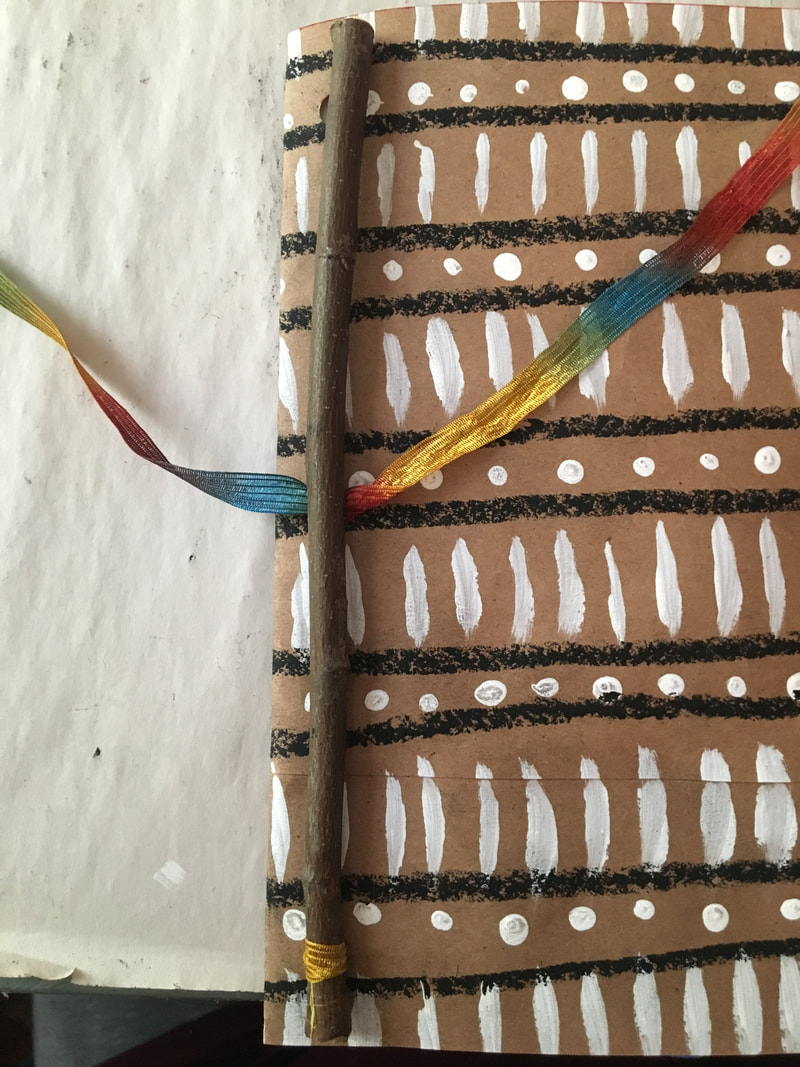
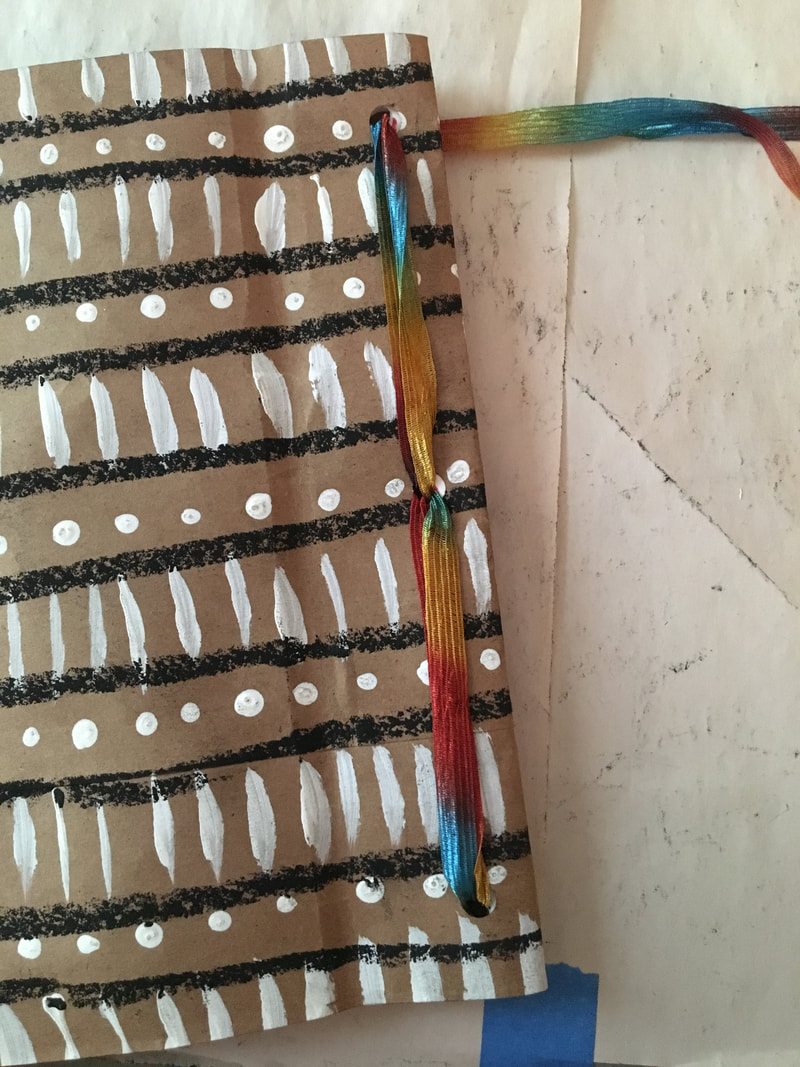
Starting from the front of the book. Feed both ends of your piece of string through the bottom hole (go through the front cover, inside pages and back cover).
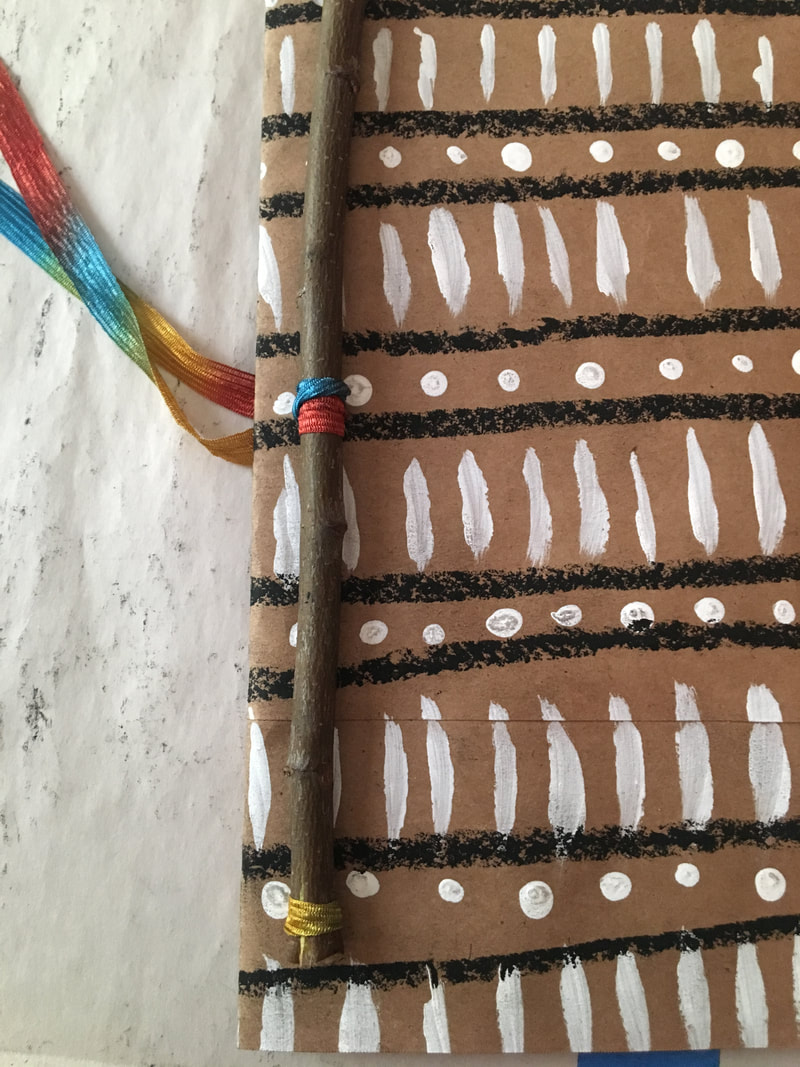
Pull the string through until there is a loop left. Put the bottom end of the stick through the loop and pull tight.
Pull the string through until there is a loop left. Put the bottom end of the stick through the loop and pull tight.
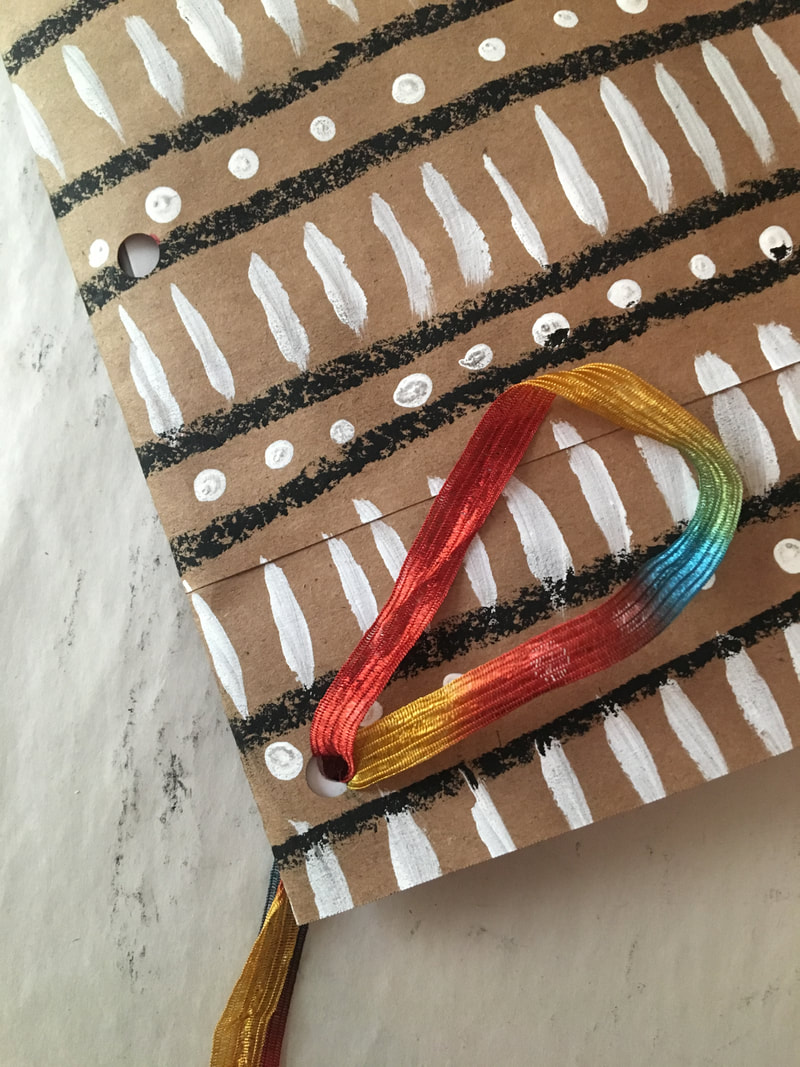

Flip your book over and feed both ends of the string up through the second/middle hole. Pull all the way until tight.
Turn your book back to the front side. Place the string pieces on both sides of the stick. Cris-cross them over the top of the stick and feed back through the same hole.
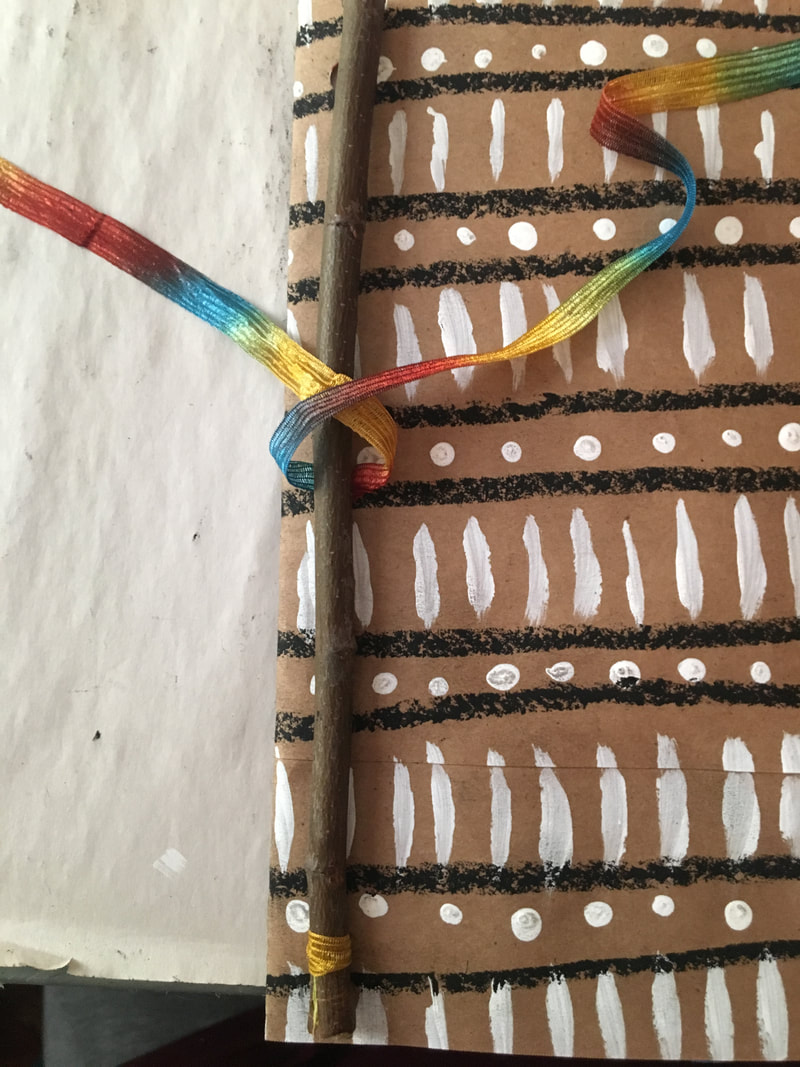
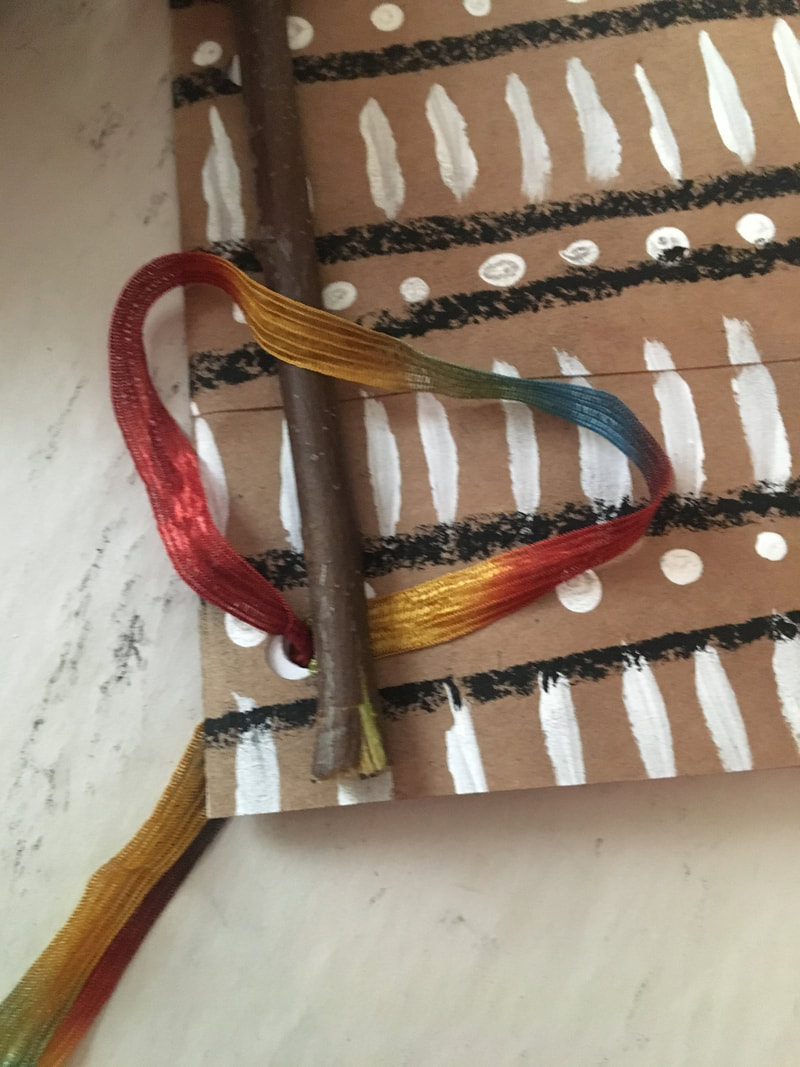
Turn your book to the back side and feed both ends of the string into the top hole. Pull tight.
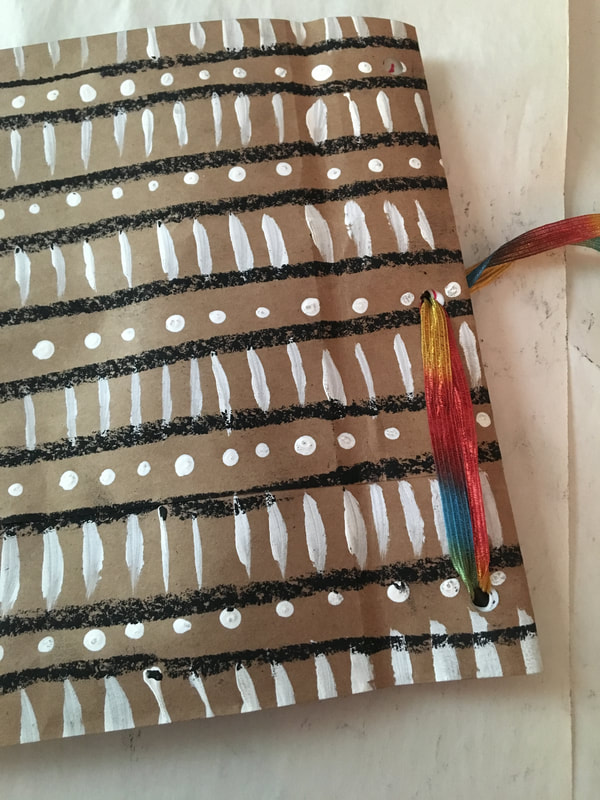
Finally, tie a knot or bow around the stick at the top of your book and trim the extra string. Now you are ready to start drawing! I left the ribbon on mine long enough to use as a book mark!
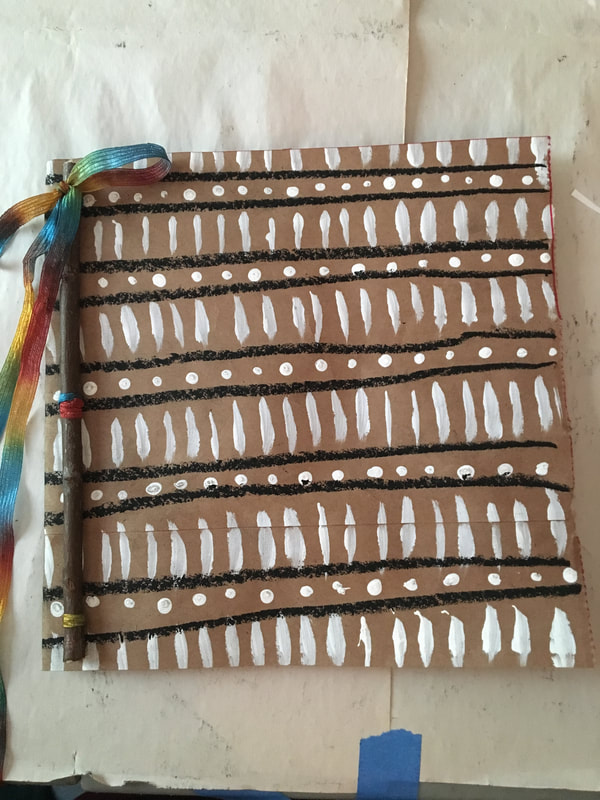
I mentioned at the beginning of this post that these journals are "re-fillable" . YES...THEY ARE! if you want to add more pages at any time, just cut or un-tie the ribbon binding, add your pages and re-string the book.
 RSS Feed