| Well I am all about TEXTURE these days. Maybe it is because creating artwork that has ACTUAL TEXTURE requires us to get up and explore things in a different way that we may have never noticed. EVERYTHING has TEXTURE...throughout this project you will be asked to discover and gather tiny things that will create different TEXTURES. Today we will obviously explore a variety of different TEXTURES. But we will also learn about ACTUAL TEXTURE vs. IMPLIED TEXTURE and the importance of creating CONTRAST in your artwork. |  |
Let's get started...
To create your INITIAL collage, you will need...
- A cardboard square or rectangle (flaps of cardboard boxes work great!)
- Scrap Cardboard (some scraps to cut up into tiny pieces)
- Glue
- Anything small to create TEXTURE with (rice, beans, beads, buttons, twigs etc)
- OPTIONAL White paint, colored paint, WATERCOLOR PAINT, crayons, markers, or pastels (anything works to add color to your project.

What is TEXTURE?
| TEXTURE is how some thing looks and feels. Think of words you use to help you describe how something "LOOKS" and "FEELS" like...
| |
TEXTURE in ART - there are two different types of TEXTURE found in artwork
| 1: ACTUAL or REAL TEXTURE: means and artist uses materials that actually feel like something when you touch it. Today we will be creating ACTUAL TEXTURE in our collages. | |
| 2: IMPLIED TEXTURE: means and artist uses special techniques when drawing or painting to make their artwork LOOK like it feels a certain way, but actually is just flat. It takes A LOT of practice to create IMPLIED TEXTURE. | |
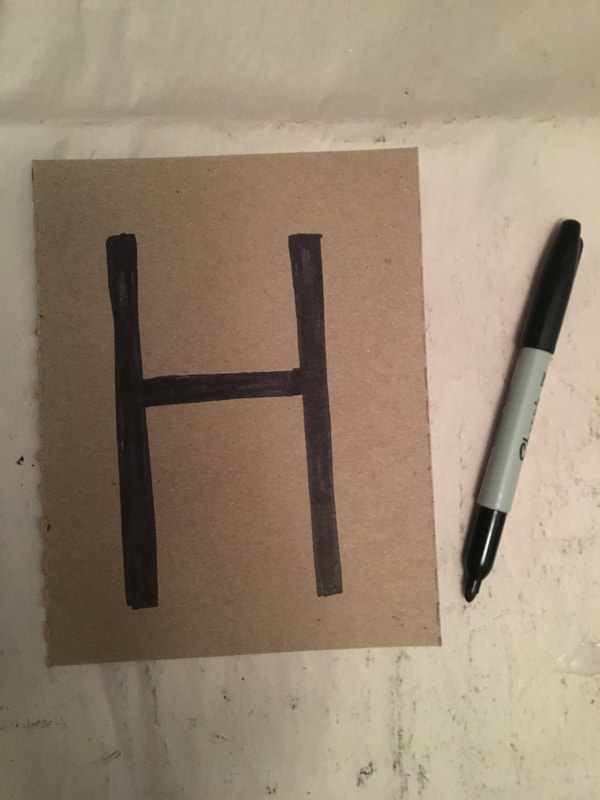
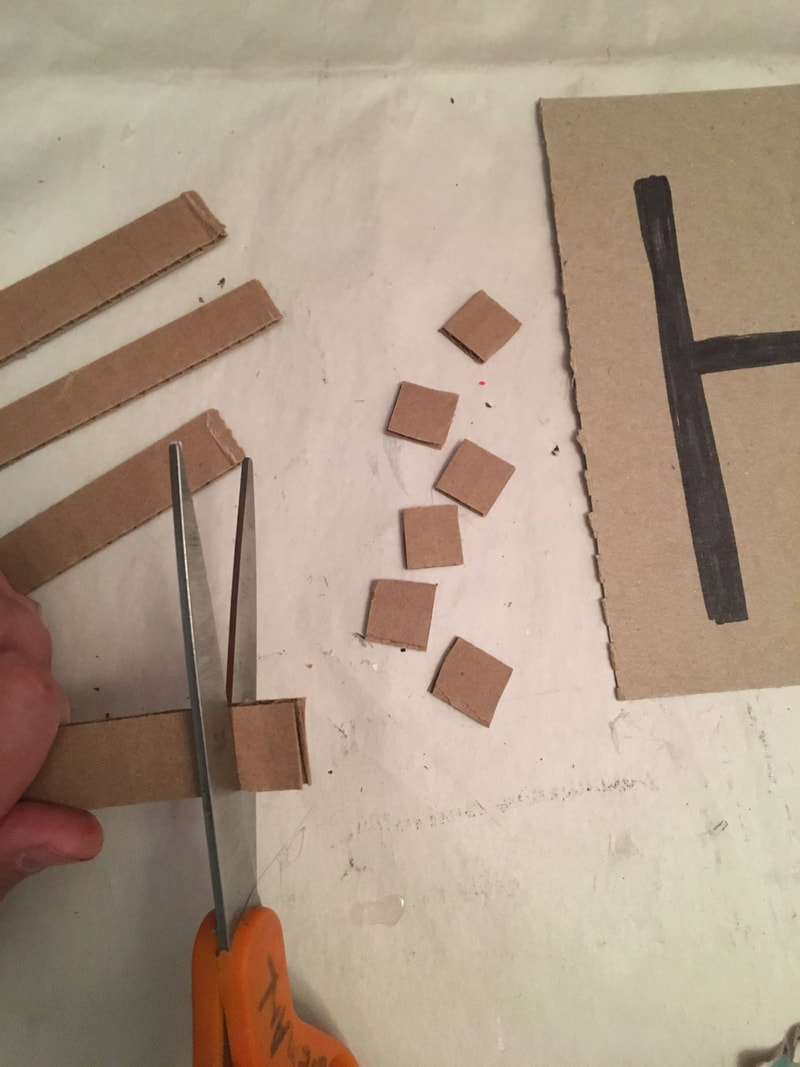
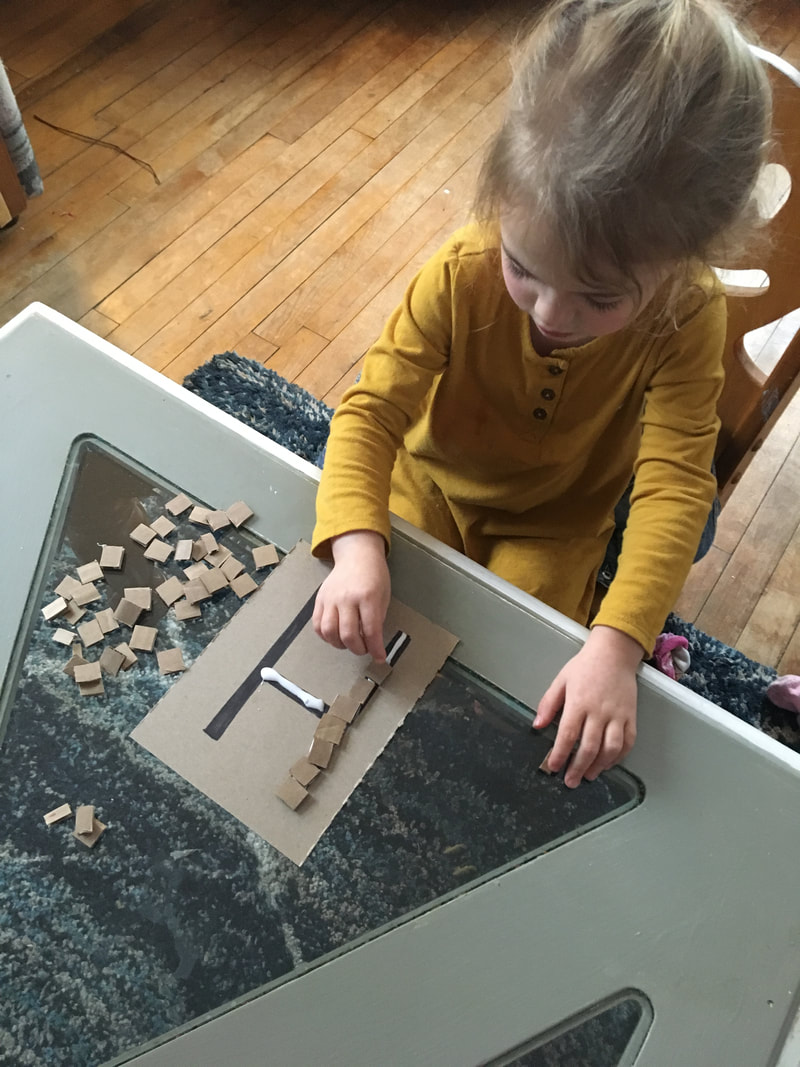
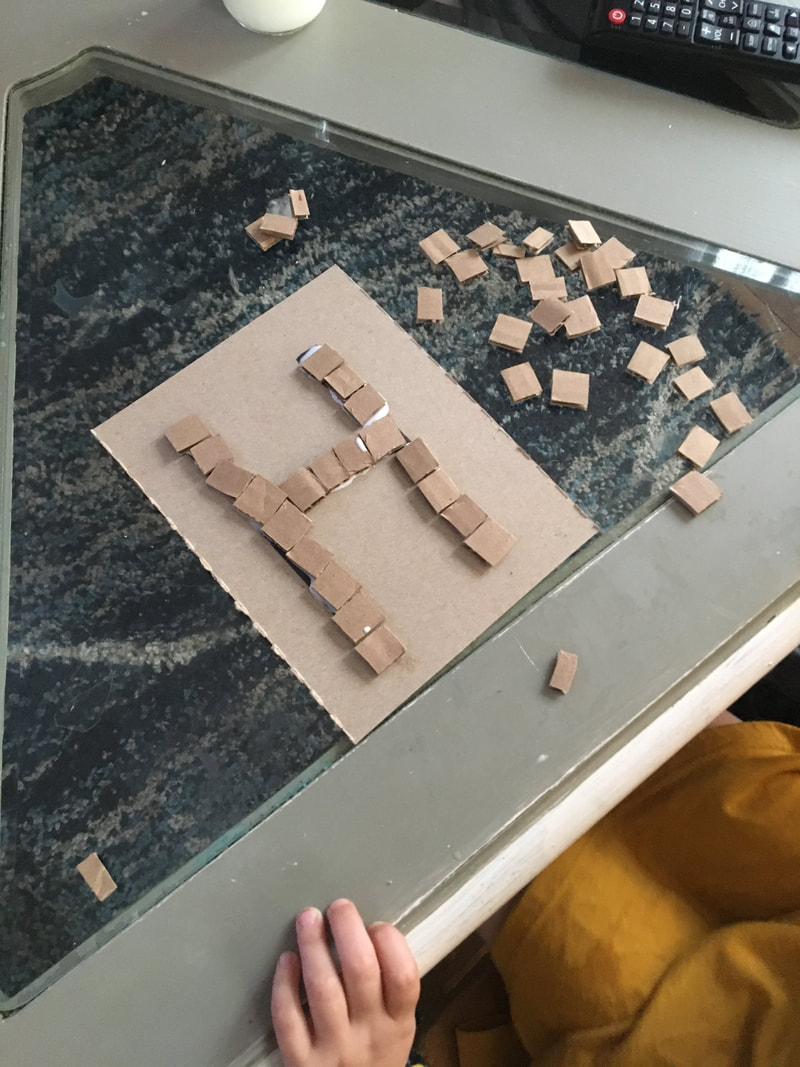
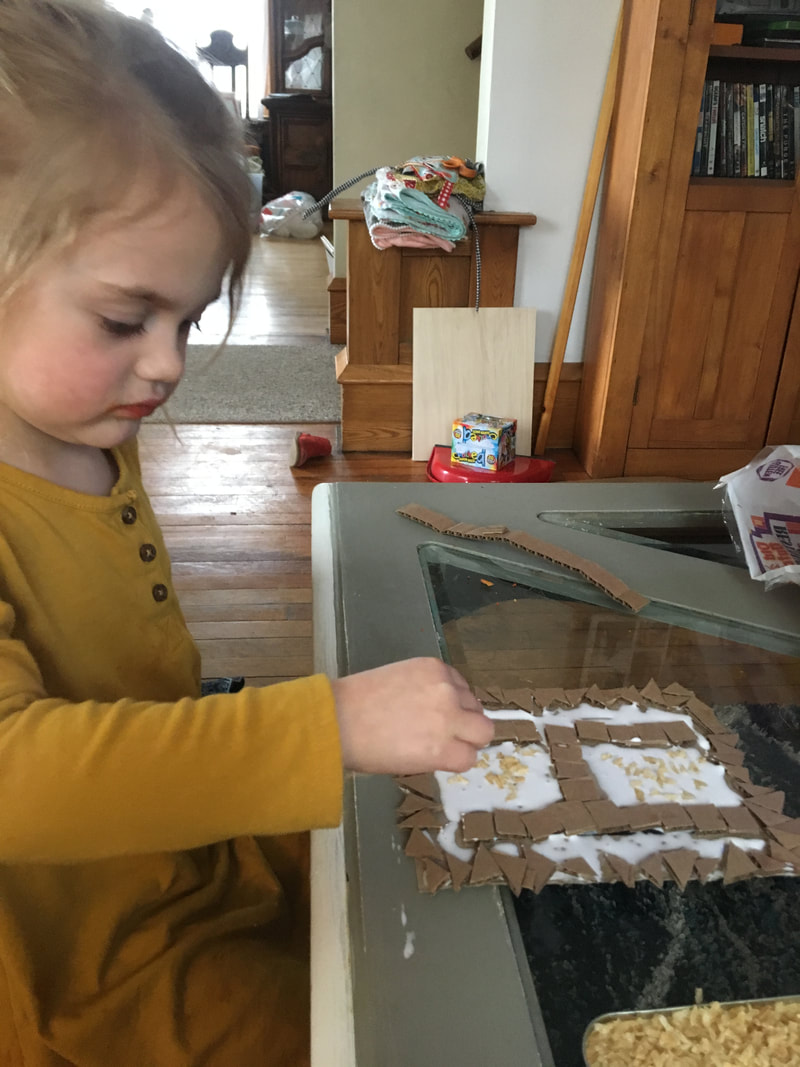
STEP 1: Draw your Initial and begin gluingFIRST, you will want to cut your flat cardboard piece to the size you would like your artwork. SECOND, You will want to draw the INITIAL you choose pretty large. My daughter's name is Harley so she chose to use an "H"....her first initial. Leave a little room around the edges to make a frame or border. THIRD, Once you write your letter, large onto your cardboard. You can start gluing. We chose to use small cardboard squares cut from scraps to start with. | |
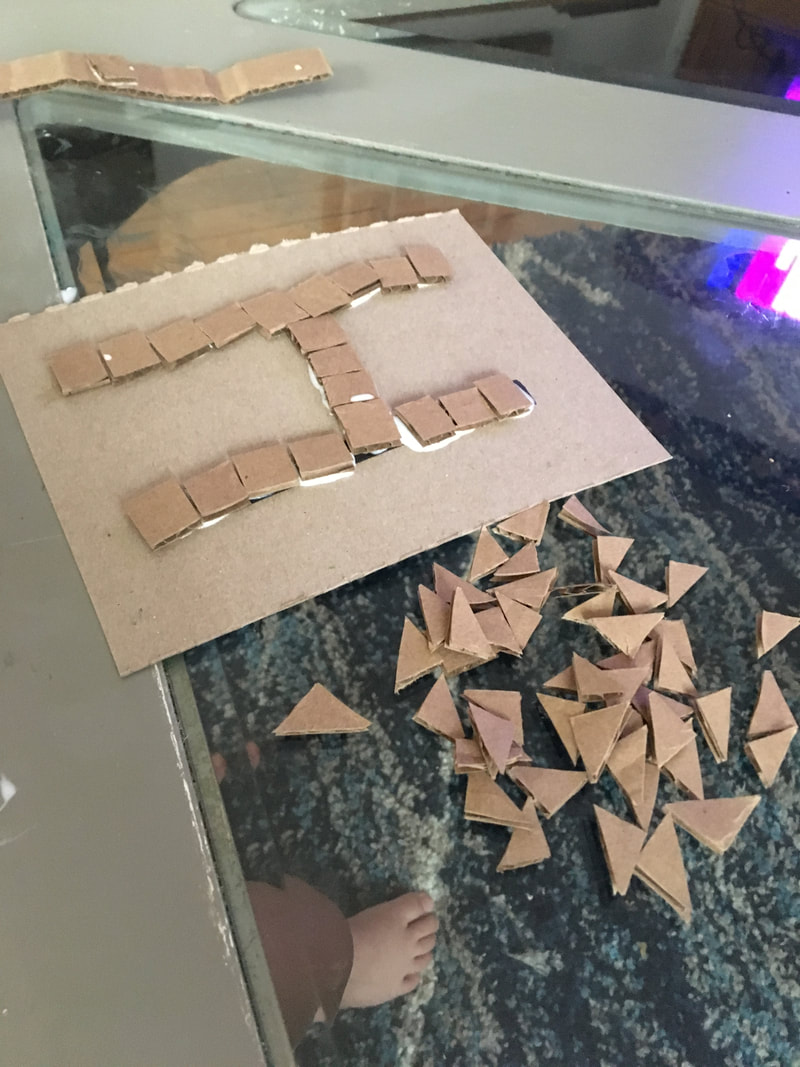
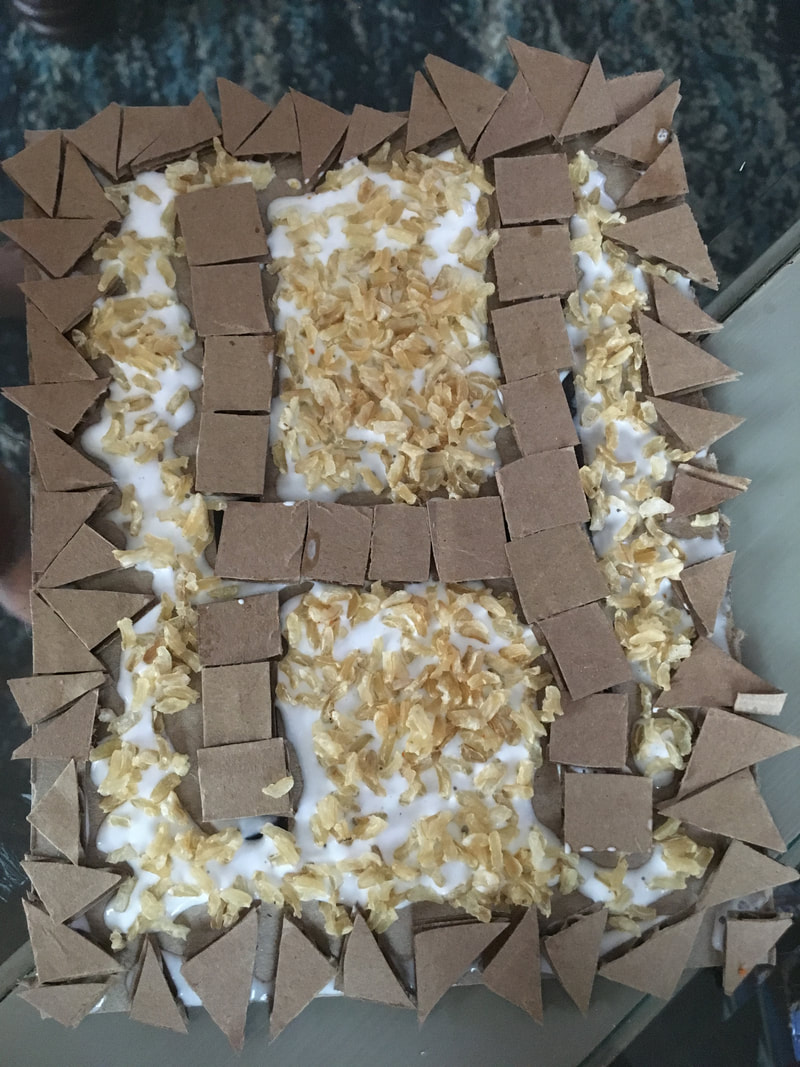
STEP 2: Create a FRAME around the edge of your cardboard piece.Next, you will create a frame or border surrounding your letter. We cut a different shape out of cardboard to do this....TRIANGLES!! Later we added a thicker border of sticks! The important thing from this point forward is to create CONTRAST in the textures you are using. | |
| CONTRAST in art is VERY important. It makes your artwork more interesting to look at. An artist can create CONTRAST by placing things side by side that are very different from each other. Examples....
| 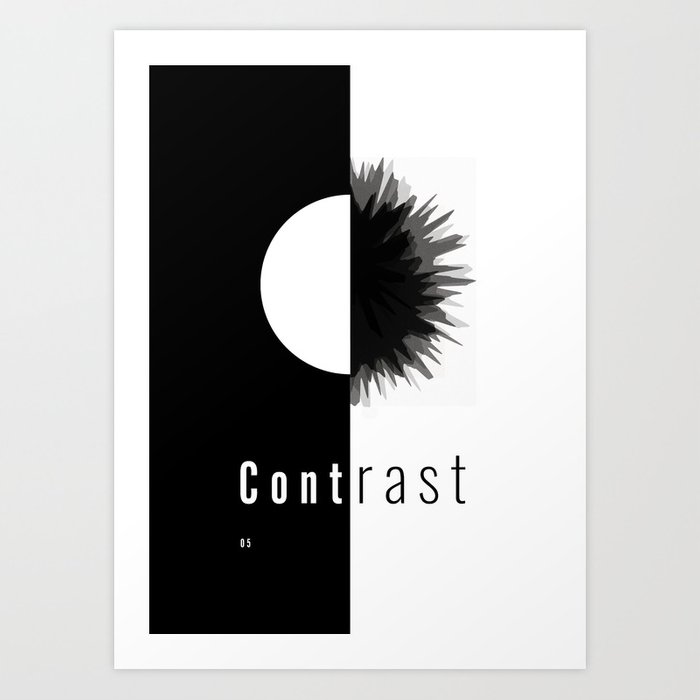 |
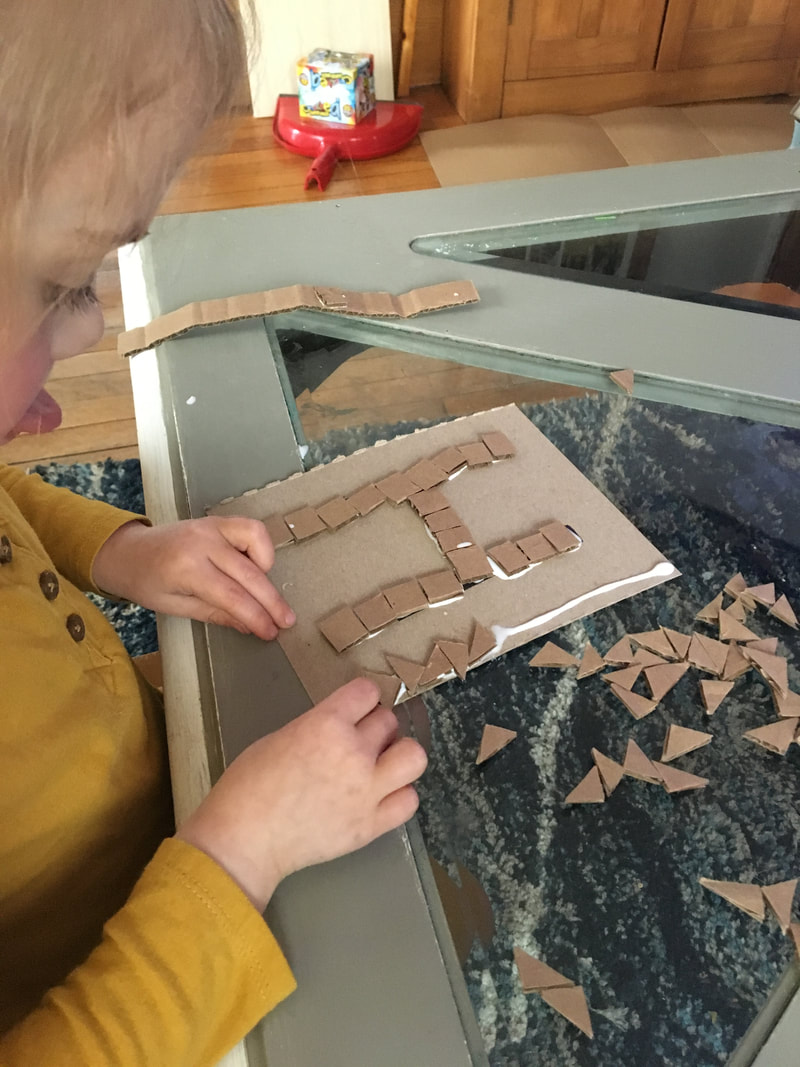
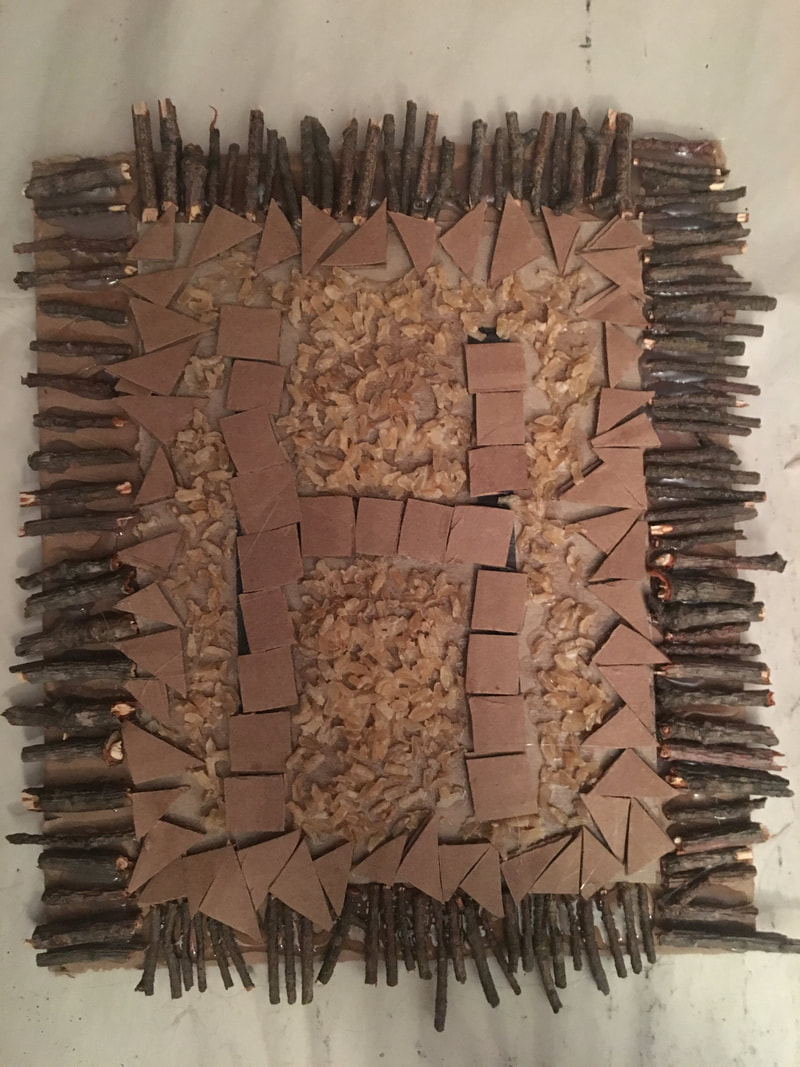
STEP 3: Fill in the remaining space with CONTRASTING TEXTURESWe chose to use rice and sticks to finish our collage, but this is the part of the project where you can incorporate as many neat TEXTURES that you can find around your house or outside, so start exploring! | |
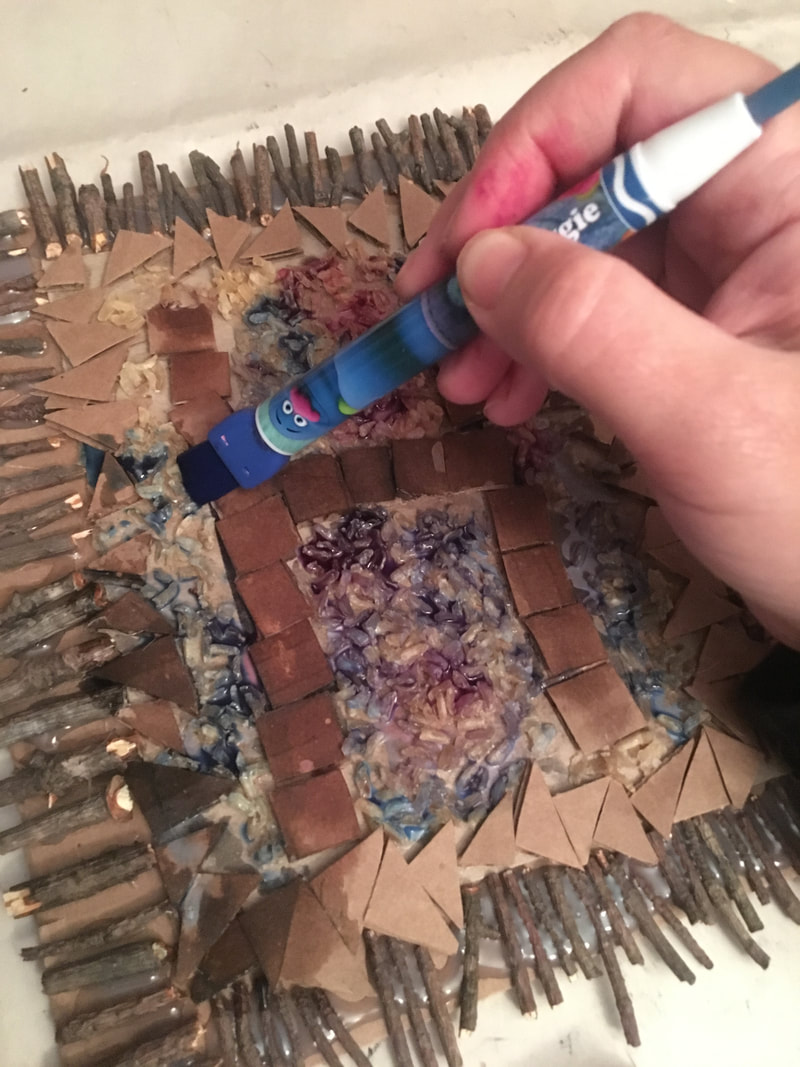
STEP 4: Add some color if you would like...
Although I think these look really neat with just the natural colors of the objects you gathered. You may want to add color like we did. If you are stumped on what colors to choose, you can check out the lesson on RELATED COLOR FAMILIES and COMPLIMENTARY COLOR PAIRS, or you can take a look at this WARM and COOL COLOR lesson.
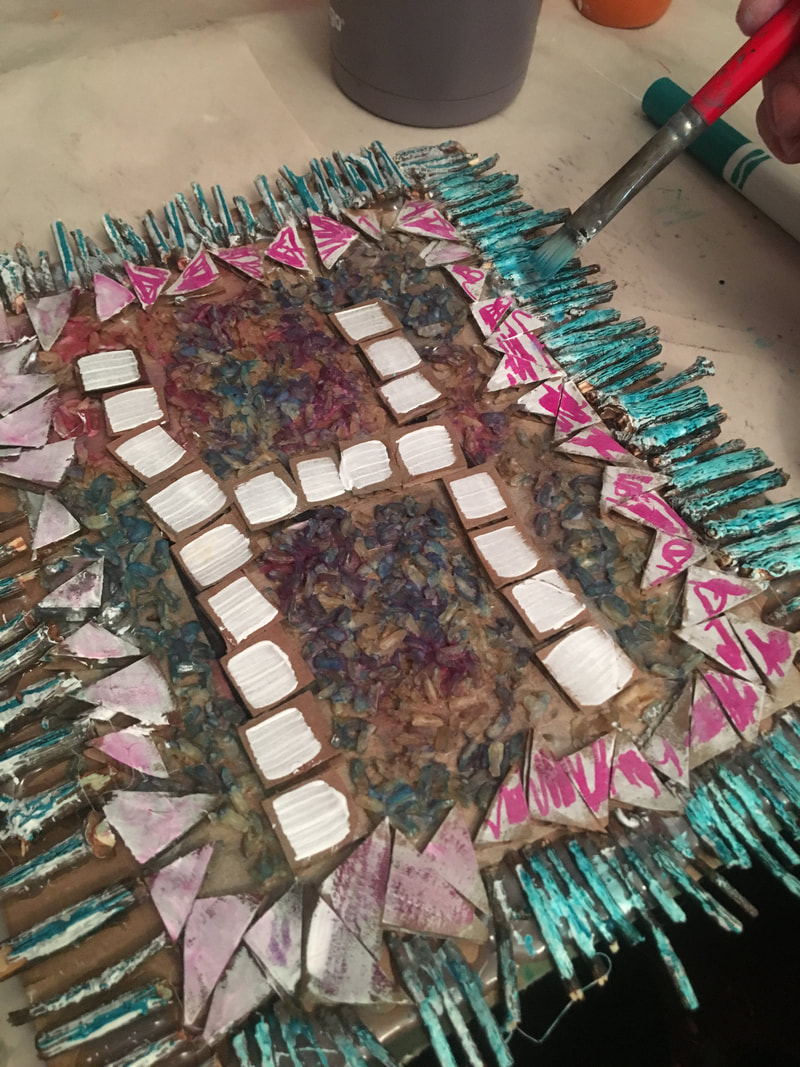
- FIRST, we took some HOMEMADE WATERCOLOR PAINTS and painted the rice we glued down.
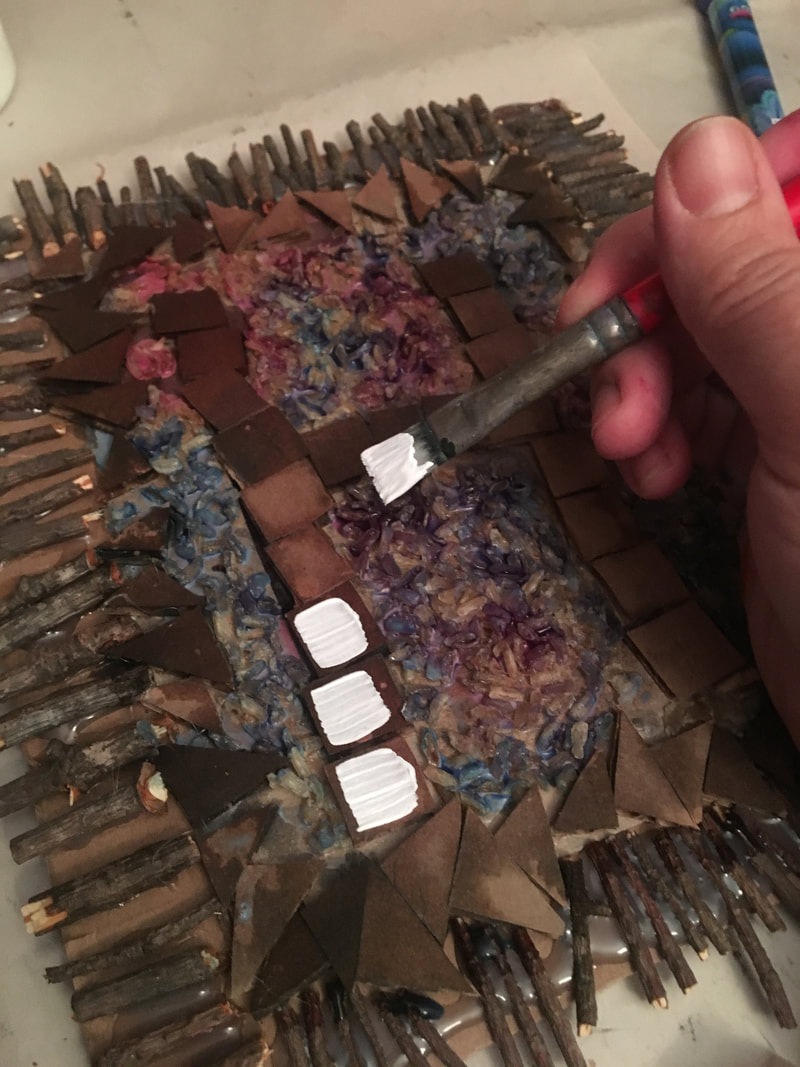
- SECOND, we painted over the letter "H" and the frame texture with white house paint we had lying around.
- THIRD, we used some washable marker to color on top of the white paint.


 RSS Feed